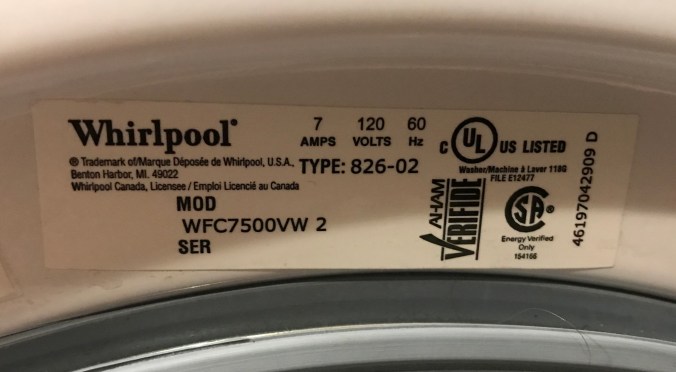
Washer maintenance…… This is the model installed in our coach…..
First and foremost…. water stays behind inside the grey rubber door seal inside the flaps at the bottom. After time this gets pretty grungy. As much of a PITA it is, we wipe ours out with a paper towel after use. There’s also a few holes in there that we clean with a toot pick.
Then there IS a cleaning cycle. Read the book. Add bleach and run the cycle. I do it after we’ve been on a trip.
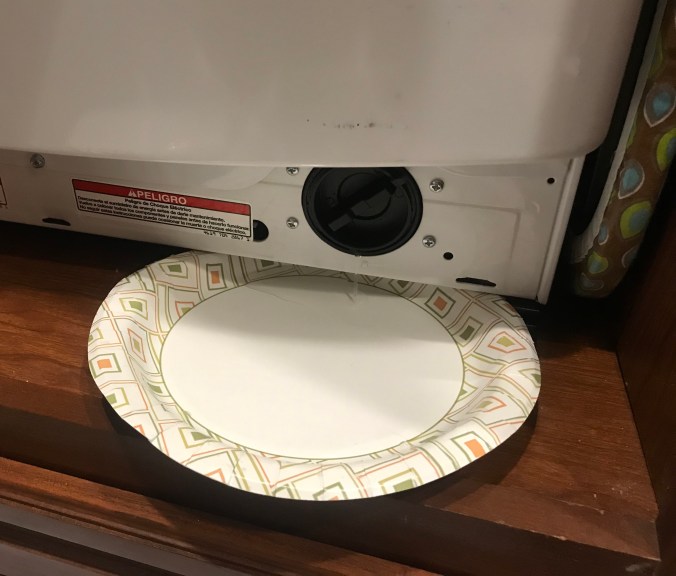
At some point you MAY get an A10 error on the Whirlpool washer….. Which means a drain problem. Well, there’s a trap in there, and guess what…. no mention of it in the book! So, don’t get the error by cleaning the trap once in a while….. Pry off the bottom cover by squeezing up on the bottom edge. It’s all plastic and it’s just held in with a few tabs.


Put something under the black plug. I used a paper plate and opened/closed slowly until no more water came out….
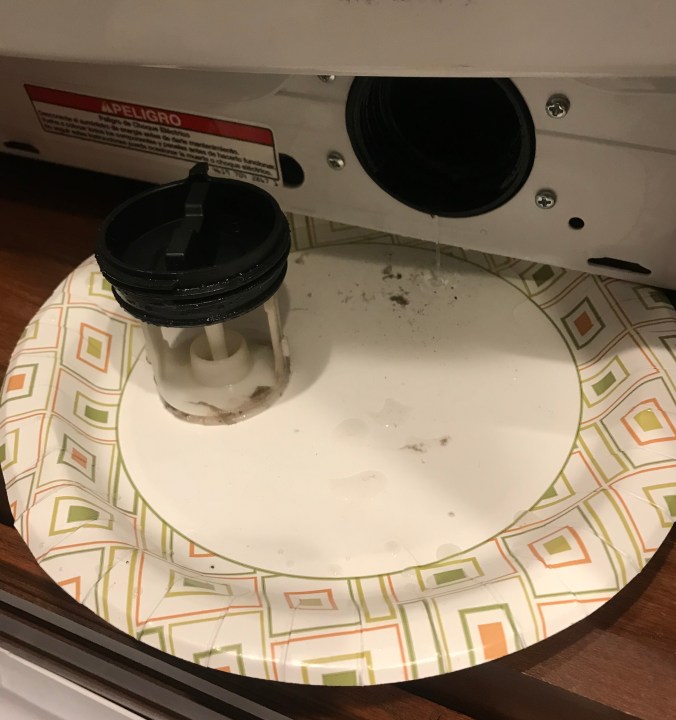
Then unscrew completely and pull out the drain plug that’s there. Dirt will accumulate in the discs on the end. Take a paper towel and wipe the inside of the tube as well.
Put it back together and done…… As an added thought…. you can remove quite a bit of water from the unit this way when winterizing, instead of relying on the pink you send through to protect it sufficiently. Then again, I have not done it this way, just ran a partial cycle with pink, and it’s been good to -1ºF.
____________________________________________________________________________________________
Note: As always, this applies to our 38A. Different coaches may have different procedures.
Dryer Maintenance…….. (with a twist)
Clean the lint screen…..regularly. No, more often than that. And in the end it will not be enough. Some lint gets through. You can stick a vacuum cleaner hose in there and get a lot of it, some people blow air into the hole in the back, but at some point you have to clean out the hose. And to do that it has to come out. Or for repair, or washer repair. And for something else…. (read on 🙂 ). So, the bottom line is that you have to know how to take it out. So I wrestled the monster, and have what I think is the best way……
- Remove the three screws in the bracket at the center top of the dryer.
- Remove the three screws (behind the plastic caps) in the center of the bottom of the dryer.
- Remove the 4 screws, two each, that hold in the black brackets on the feet of the washer. Remove the brackets and set aside. (Remember if they went outside in or inside out…. I’ve seen both.)
- slide the whole stack to the right and now you can reach in and undo the clamp on the dryer hose.
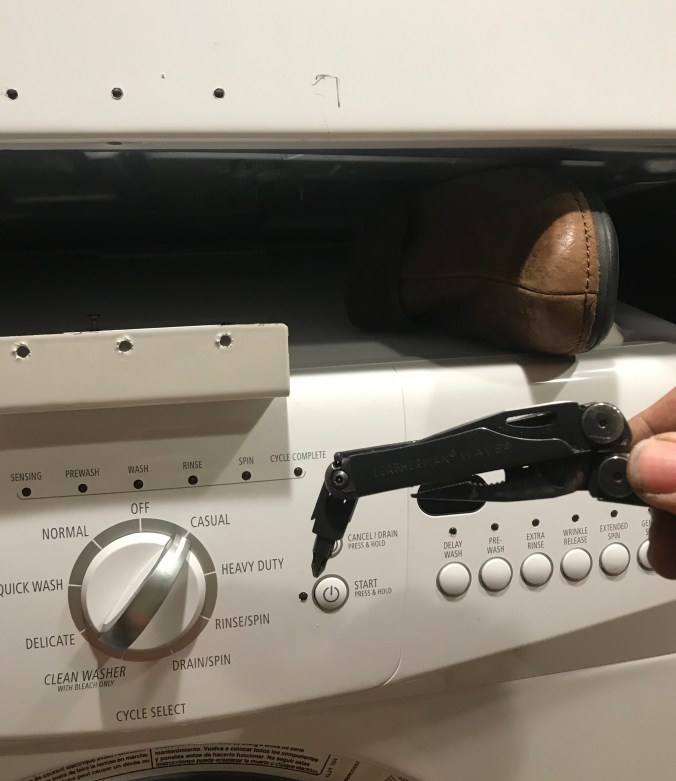
- Re-center the whole stack and pull the washer forward while tilting the dryer back as far as you can get it. Stuff your SO’s house shoes in there to keep it there.
- Reach between the washer and the dryer and remove 4 screws holding the bracket on the top of the washer. A right angled screw driver works. If you don’t have one a multi tool with the phillips bit at 90º works too. Remove bracket and set aside.
Now you can wrestle the dryer out. A towel on the toilet will give a place to land and re-grab and then bring it all the way down to the floor. It’s not TOO heavy, it’s a little awkward. The cord was long enough, when in doubt unplug under the sink and give it play. Then again not having to fish it through the hole is nice.
Soo….. now you can take off the dryer hose, clean it, and clean the back of the cap through the wall as well as the duct inside the dryer.
Now…… while you have it out….. Here comes a mod. Proceed at your own risk!.
____________________________________________________________________________________________
BUZZKILL!
When I get out of the shower before bed I put my towel in the dryer and give it a spin. Problem is, I then go to bed and just about when I’m falling asleep the damn buzzer goes off! I HATE that thing. And, I don’t need it. I want to silence it! Well, since we have the thing out for cleaning anyways (that’s my story and I’m sticking to it) proceed as follows.
Unplug or turn off the dryer breaker!!!
Remove four screws at the top in the back.
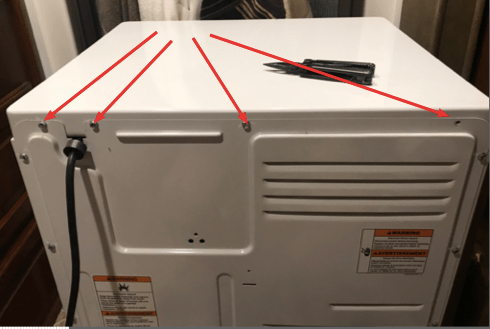
Lift up the back of the top, unhook from the plastic latches in the front and set aside.
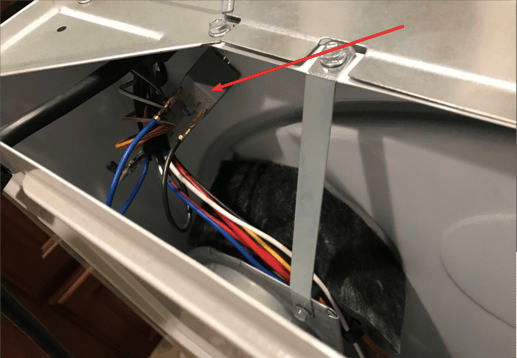
This is your buzzer in the back……
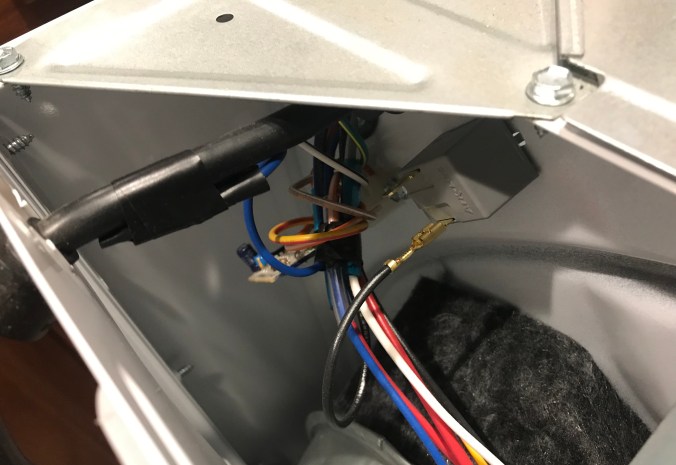
Now, with the power on and a multi meter I noticed that the wiring on the buzzer is kinda odd…. BOTH sides are hot (120AC) and when it buzzes the blue wire goes to zero….Never seen this. There’s a schematic on the inside and it didn’t appear that disconnecting one or both leads would mess anything up. So, I disconnected the blue wire (after shutting the power off again) and taped it up and to the rubber power cord with electrical tape.
Restored power and tested it….. it works. (Again, proceed at your own risk) And if something changes I will edit here. Put it all back together and viola. TIP: I taped the loose end of the hose up to the back of the dryer so it staid out of the way when wrestling it back in.
And now……no buzzer! (And a clean vent hose….. 😉 )
