It’s another one of those gripes that seem to keep coming back. People are having trouble seeing in front of their coaches at night. Now, the fact that the average owner, including yours truly is, shall we say, not 25 anymore probably doesn’t help, but yes the lighting on these things is marginal.
The Dragonship came with the fog/driving lights in the lower bumper. I always have them on and they improve things quite a bit to the point of being bearable in normal traffic. Note: There are occasional strong opinions about what are driving lights and what are fog lights, and when to use them or not use them. I’m not sure what these are, but I use them all the time and no one seems to be complaining.
But, the regular headlights are….blah. Turn on the brights when you’re looking for a little extra and it’s actually worse, especially since the driving/fog lights come off when you do that. Why beats the heck out of me. But it happens on every vehicle I’ve ever owned that had fog lights.
On top of it all the alignment was way off and the mounting of the headlights is rather flimsy. There is no proper alignment system. Some screws, a few washers here and there. So, the first order of business was to improve the alignment, and with more washers and screws I did just that.
Secondly, I wanted to increase the amount of light for those dark corners of the world. There’s a lot of info out there about people replacing the bulbs with HID (High Intensity Discharge) light kits. First thing you need to know is that the installed lights were made for a 2004 Toyota Highlander…… Then you go find a kit. They’re all over the place. And they work, in fact they work a little too well. I’m sure you’ve seen them coming at you and wondered whether you needed to get your sunglasses out. I didn’t want to stick out that much.
So, after the alignment I pulled the bulbs and found the corresponding bulbs in a NAPA premium bulb. A little better. (55W for the low beams BP9006NVB2-N, 65W for the high beams BP9005NVB2-N) Sorry I wrote on that…. lol

And here they are…. don’t have a before, but I can tell it’s much better…..
WARNING REGARDING WHAT FOLLOWS: This not being “my world” a friend pointed out that highway use of these is not very legal, and that in some states there’s an enforcement effort. Apparently there are people that put these on their vehicles to go deer hunting on the road and in the process blind others, or just turn them on and don’t care about other motorists. (I did see them on State plows and dump trucks….. go figure) Some states require it to be covered with “an opaque medium” plus in summer it’s good to the bugs off there as much as possible so I got covers from Rigid directly. Meanwhile I’m going to make sure it’s aimed at the road. And, I will have to be very careful where I use it. That said, enforcement against old people in Moho’s has never been a real problem.
So with all that in mind….. this is what I did…….

I took this screen shot a week after I got this, and the price had gone up $70.00 in the meantime Wow, I done good….. And yes, that is still a lot of money. I did a lot of research and RIGID time and again came out as expensive but top quality. I did not feel like sticking something cheap, leaky, flaky and corroding on there…. Plus I wanted LIGHT. And this bar also has a VERY cool back light feature, which is available in a variety of colors. I chose Amber to tie in with the amber side lights.
It came with a wiring harness. Three connections: Switches, power and the light bar. There’s power in the electrical bay…. and that’s right below the side console, and it’s an easy run forward from there, so that’s where I went. I took the side top off the console and stuck a fat screw driver through the foam blob in the floor. I found it in the ceiling of the electrical cabinet, taped up the wires into as thin and pointy a shape as I could make it and stuck it up into the floor. Found it inside the side console…. Drilled holes for the switches, which snap right into the hole and connected the harness and voila. There’s a relay which I secured with an existing screw.

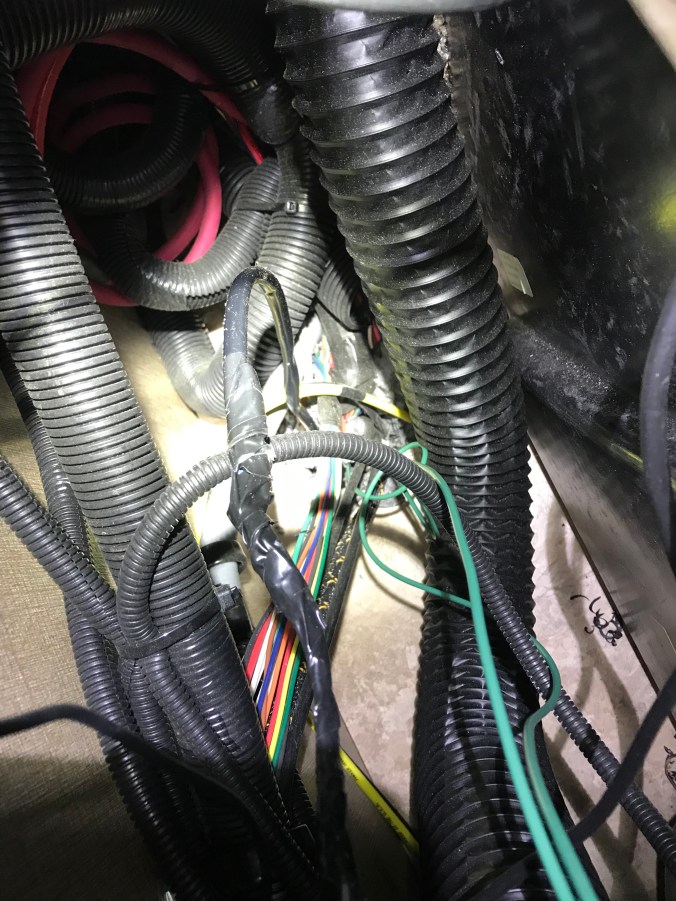


Next, for power. I would have liked to tie into the existing fuse boxes, but this required special connectors which I didn’t have and didn’t want to wait for, and since there was an in-line fuse in the harness I just connected to a hot post on the back side of one of the fuse boxes and use an in line fuse.
I thought about where to put it a lot, and held it up in various places about 100 times. Pros and cons to everything. In the end it ended up under the windshield wipers. Up high would have been very effective, but hard to get to and harder to wire on the inside as there are cabinets there. Thought about on the generator door right between the lights, which would look good, but that had wiring issues with sliding the generator in and out and also, higher is better for effectiveness… So yes, I drilled holes in my front cap, oh well. I can always put a cap plug in there if I ever take this thing off.
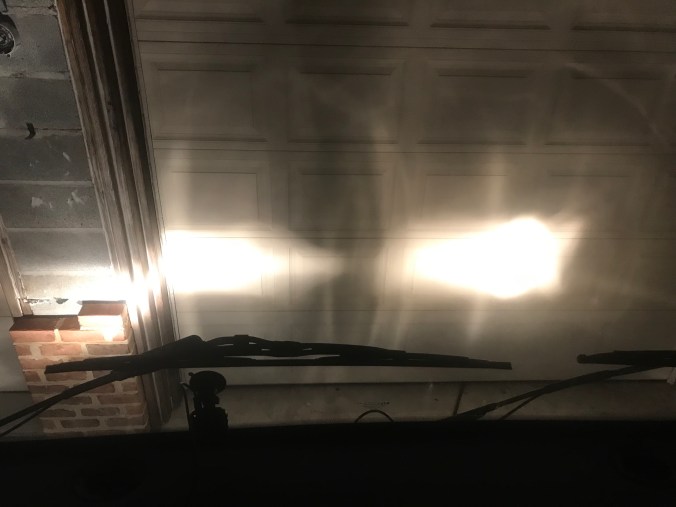
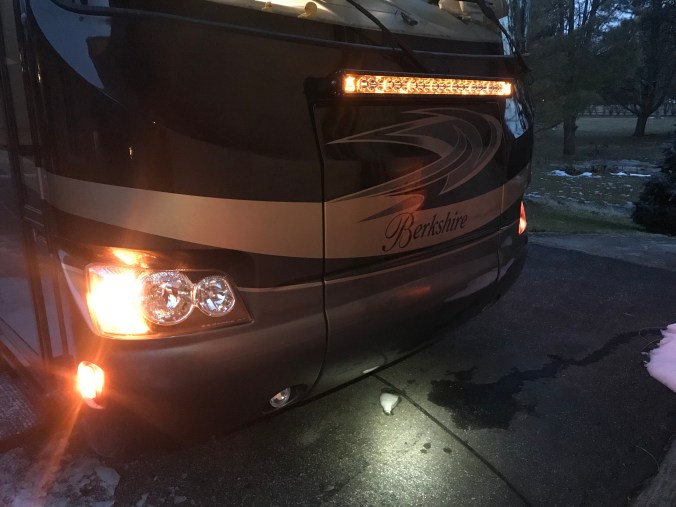
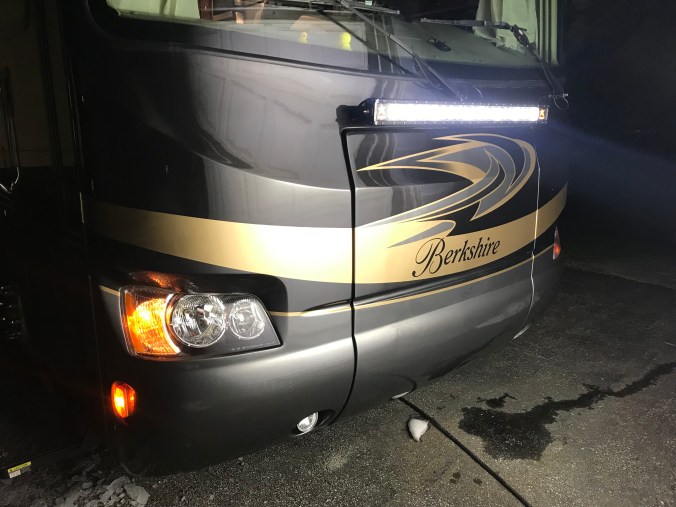
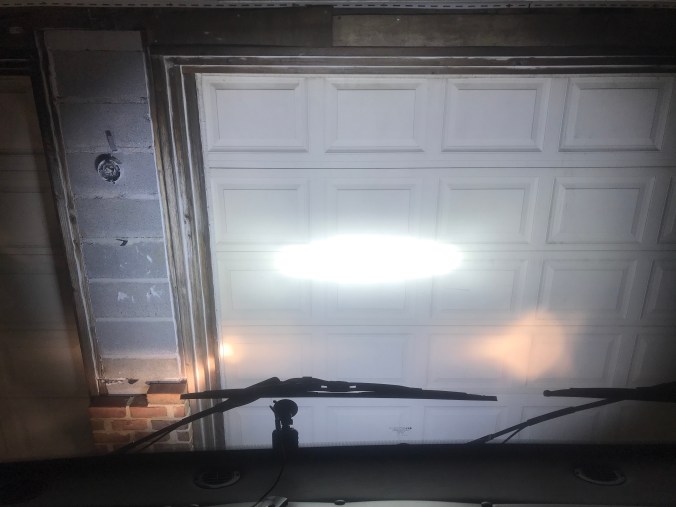
So here it is. First pic is the amber back lighting which looks pretty cool. Second pic is the thing on. Third pic is facing forward. The two yellow blobs are the regular low beams!!!! I will take road pictures when we take it out.
The covers come in 10″ sections….. Takes a little longer to put on but easier to store.

And…. the Road test. Regular headlights pretty good now. Not feeling like I’m driving in the dark at all anymore…. High beams…… meh. The light bar on the other hand…… Let’s just say my retina was sizzling…

