When air is compressed, depending on atmospheric conditions, water condensation occurs. You don’t want water in your air system. It can negatively affect its operation, it can cause corrosion and it can cause freeze damage. The first defense is first in line after the compressor (which is located on the engine) and it’s called the “air dryer”. On most coaches you will find it just in front of the rear axle on the left or right side. Here water is separated and regularly purged. (blow off). There is also a “dessicant filter” which catches water. Any water which gets by the dryer accumulates in the tanks and we purge that manually by pulling the cables that operate the drain valves on the tanks. On my coach there’s one on the driver’s side and two on the passenger’s side. They are to be pulled regularly, just long enough to hear air escape. If you hear water keep going until you hear only air. “Regularly” is relative. I do it frequently, as in weekly when traveling, more if traveling a lot. That said you should not get a lot, or even any water if the dryer is doing its job.
The purge cables can be found in the wheel wells behind the front wheels, metal wire loops. Picture of the passenger side with the two loops:

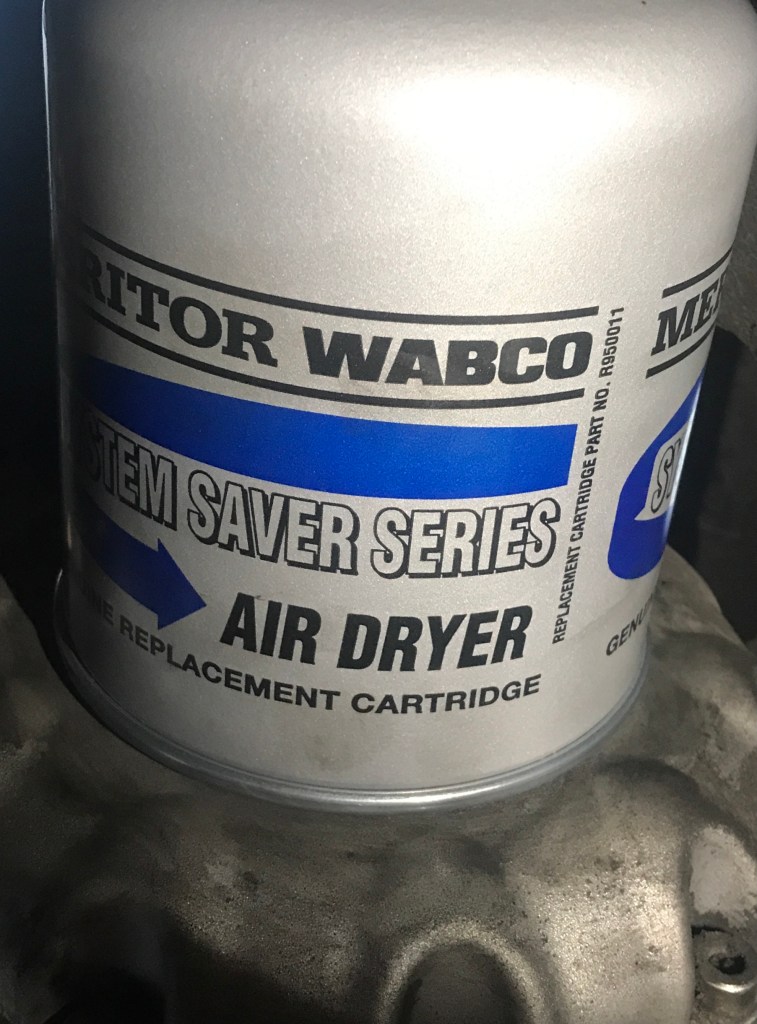
The filter on the dryer is a regular maintenance item. Intervals are not pinned down. The FCCC service manual says 36 months or 45,000 miles. Reading around severe use, like a school bus, it is 12 months or 100,000 miles. Some manuals call RV’s “severe use”. Some don’t. In any case it was time for mine.
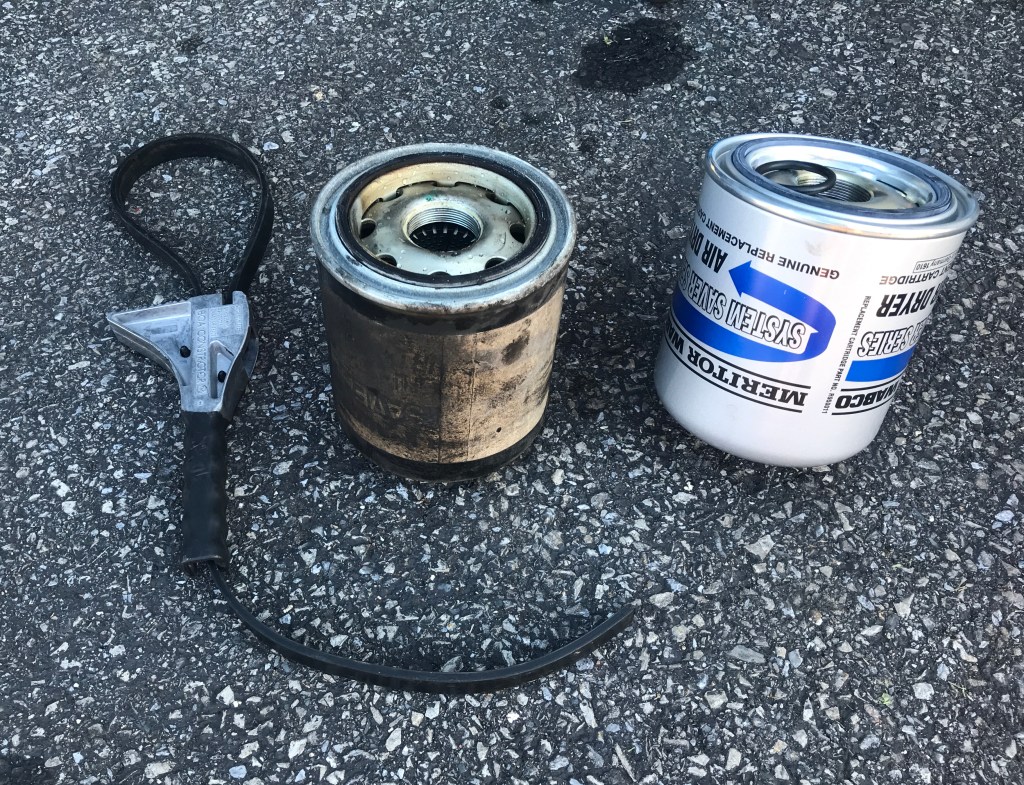
If you are not overly rotund there’s enough room to sit up behind the axle and see the thing. Mine was filthy, compliments of the generously lubricated drive shaft U-joint spinning right next to it. After cleaning the area with brake cleaner I used a strap wrench to get it loose. I have heard of them being very tight and people having to use a vice grip/chain wrench. Here it is with the tool, and the new one. I did find some water inside the bottom of the filter which makes me want to replace it more often, even though I have not found any water in the tanks.
Once you get it off, remove the o-ring just under the threads in the center and clean all mating surfaces. Apply some silicone grease to the new o-ring (comes with the filter) and install it.
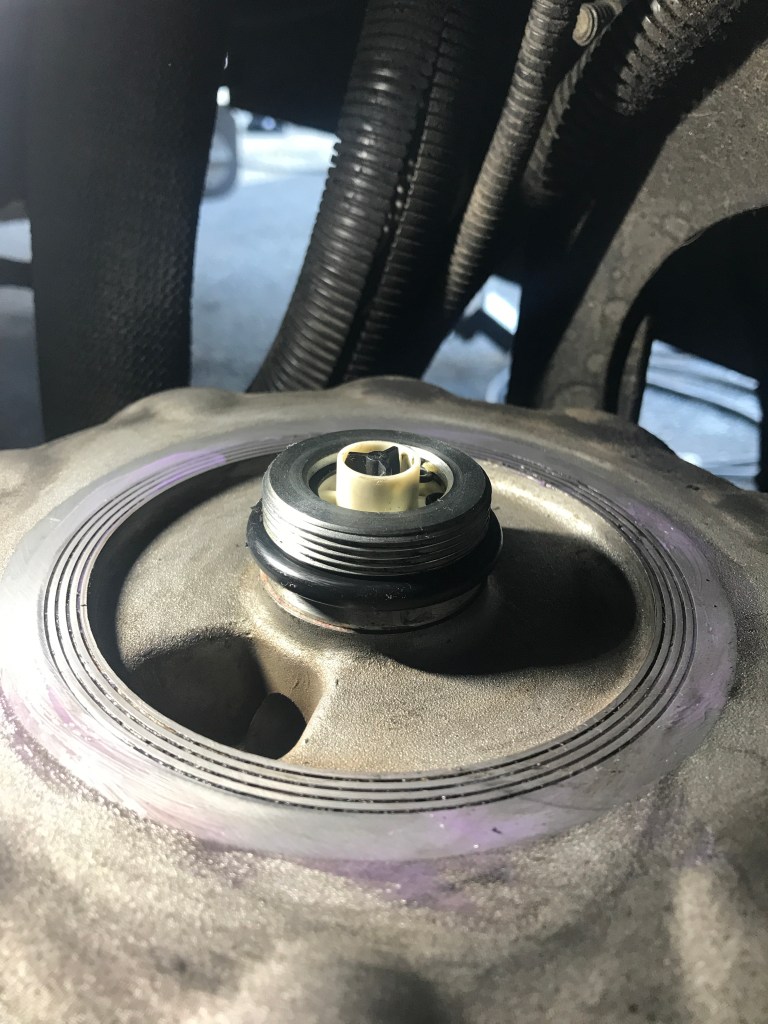
Apply some grease to the rubber gasket and install it on the base. Hand tight, just like the oil filter.
There. Easy, but very important.
