My lovely bride and I have similar taste. That doesn’t mean that locked in separate rooms with a blank slate we would come out with the same thing. It does mean that there is enough out there that we both like. Such was, once again, the case when shopping for motorhomes. Very, very rare was the interior where one of us said “blargh” and the other “cool”. Dark cabinets, earth tones, and a (semi) traditional detail would get nods of approval. So, when we found The Dragonship we were both very happy with the decor. In fact, aside from the usual accessorizing (her job) with mainly the “things” from our previous fifth wheel it was turn key. There were only a few additions/changes that would be considered a project:
- Carpeting
- Curtains inside the cockpit windows
- Curtains separating the cockpit from the living room
- Forward lighting modification
- Bunk room modification
- Hanging rod in bedroom
- Under Bed Lighting
- Hiding all the chargers and power supplies!
- Upgraded heat registers.
- Finger Hole in Under Dinette Storage Hatches.
_________________________________________________________________
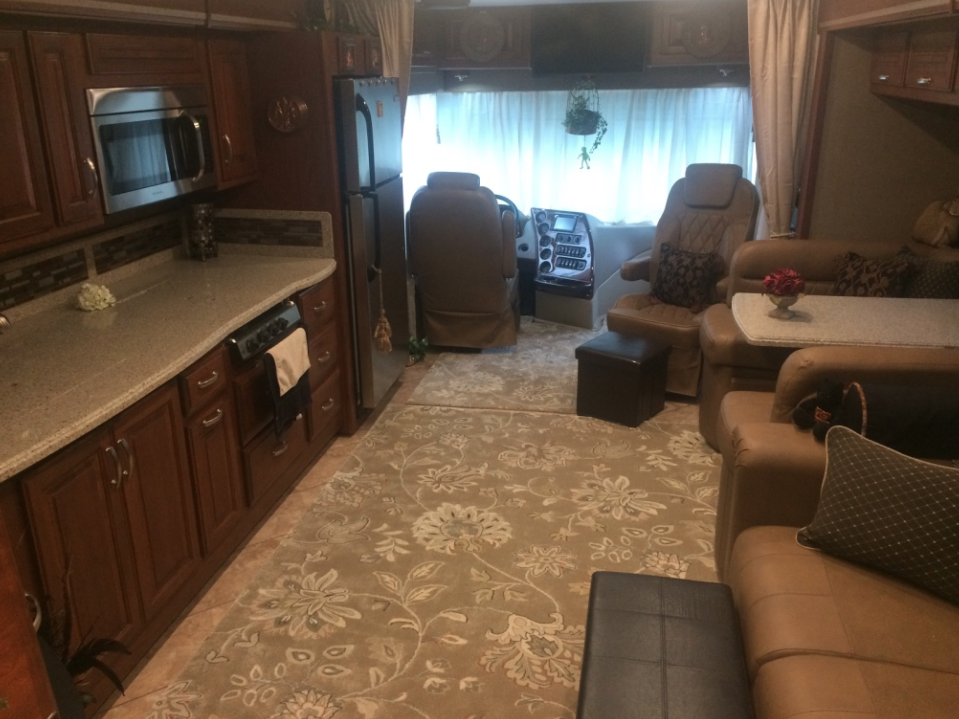
As pretty and decent quality as the vinyl tiling was, it is not “squishy”. We like a little give on the floor. Also makes it warmer, and when chosen right the design adds to the theme. Fortunately we both generally like the designs offered at Lowe’s or Home Depot, and the various sizes make puzzling a “floor plan” together pretty easy. Pricing is also reasonable and makes it so you don’t have to feel bad when you cut a piece up and throw some scraps away. Thus we put two 2×3’s in the hallway by the “human closet” (bunk/closet room) and half bath, a nice sized rug in the living room and a piece in the cockpit. The latter is another 7×10 like in the living room cut and trimmed. The remainder fits in the aft bathroom. The way the slides are designed they do not ride on the floor when retracting. In fact there is enough clearance for the rugs to stay right where they are and they barely move when the slides are operated. We are both quite happy with the results.
_________________________________________________________________
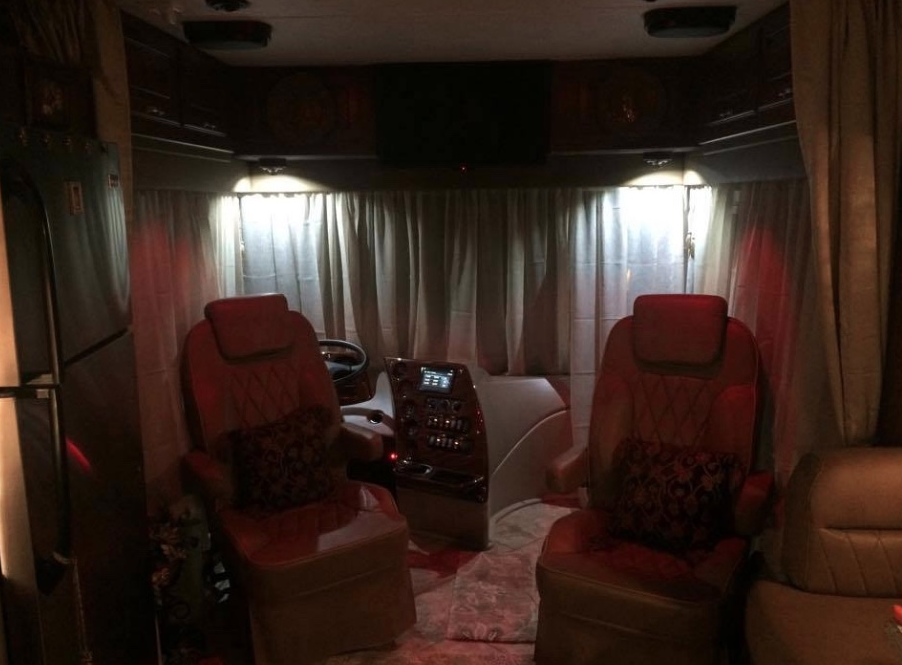
Curtains inside cockpit windows.
That’s a lot of glass up there and, there’s limited glass in the rest of the living room. Having the port side be dark is OK with me, as I don’t like looking at the neighbor’s patio when in a campground. The starboard side is OK, but not exactly panoramic. So, I like being able to look out of the big windshield. My lovely bride likes a little more privacy. Also, when the blinds come down at night they make for a LARGE plastic and boring surface. Not warm, not fuzzy. So, after some deliberation we decided to put sheer curtains in. You can still look out, but they reduce looking in. At night the blinds come down behind them and they soften the look. The rods are plain ol’ 1/2″ metal electrical conduit from Home Depot suspended on screw in hooks. It’s all hidden behind the valances. The curtains are JC Penny (on sale!) and all I had to do was contour the bottoms to fit the dash and hem them. Here’s the daytime look:

When driving the ones on the side open back and are tied back with decorative ropes. The front ones slide off to the side and then I lift them up and stick them in the overhead cabinet. The spring loaded door keeps them there, it doesn’t look too bad and the view is 100% unobstructed.
_________________________________________________________________
Cockpit Curtains
Those of you paying attention saw more than just sheers in the topic above. For night driving I wanted to be able to block out the cabin so TV/Fridge/reading lights etc don’t interfere. So, curtains across were in order. In addition to light, they also hold in/out heat/cold so when there’s no one riding in the back we can get better performance out of the dash unit, alleviating the need to burn propane or run the APU. It makes a HUGE difference in the comfort up front. Another benefit turned out to be that they quiet the cockpit as they insulate against noise coming out of the rear.
Also, when you pull over for a break or a short night at a Wallymart you can close them and have privacy without having to close up the whole cockpit. And, when traveling through cooler climes you can cut down on the amount of space you have to heat. In extreme cold it can actually help you keep warm in the back.
The rod is a nice wooden fluted Home Depot curtain rod. It is mounted above the slides and does not interfere with them. Brackets on the wall are hanger rail type. You do have to drill as you are going into a steel header. Not too thick, no big deal.

View from the cockpit with the slides in and the curtains closed:

_________________________________________________________________
Forward lighting modification.
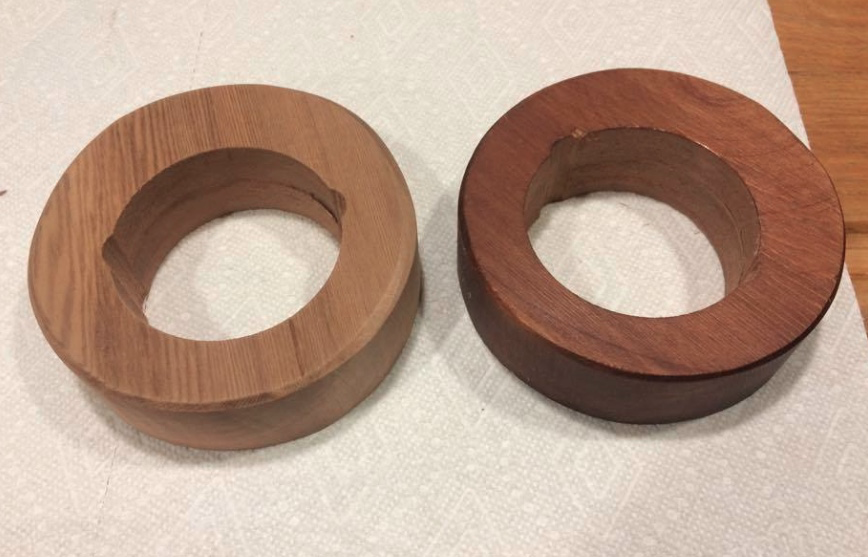
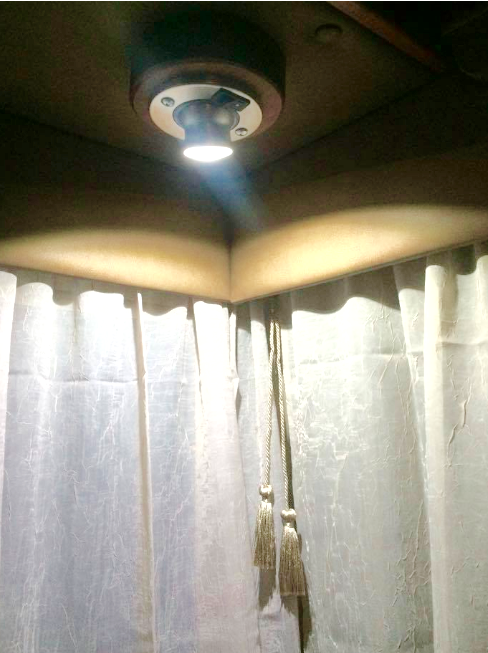
The forward part of the motorhome, the cockpit had two overhead “map lights”. Same fixtures as the overhead lighting in the living room and the bedroom. They were individually controlled from the center console. Like the others they were very bright. Too bright. Turning one of them on at night would kill you night vision for a week. So, they were replaced with two red map lights with focus lenses. This is described in the cockpit modification section. However, the loss of white light in the cockpit did leave us with a dark hole when parked. Now, there were two fans on the ceiling above the dashboard. They were loud and we had no intention of ever using them. Some other owners cautioned that they were needed to keep the large windshield from fogging, but with the greatly improved HVAC due to the cockpit curtains we have not needed them. Plus, they were ugly. So off they came, neatly packed in a box. This gave me two electrical supplies for two spot lights, identical to the ones in the bedroom. Again, I didn’t want to cut around too much to fit them in the hole so I made spacers out of cedar. With some boiled linseed oil on them they match the cabinets perfectly.
They light up the front “wall” nicely at night and are still controllable from the center console for when we park and need white light.
_________________________________________________________________
February 13th, 2017
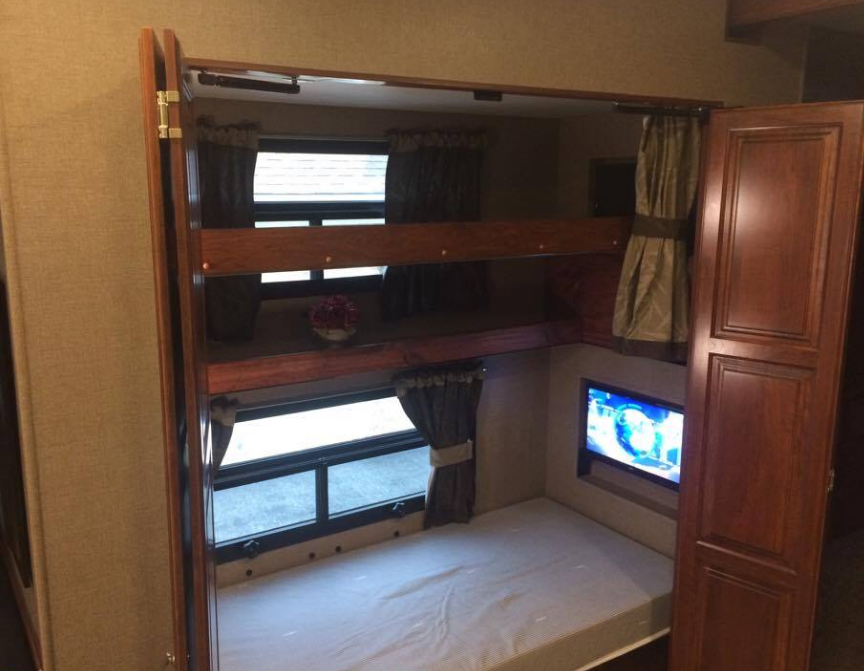
The Human Closet.
Which is what we call the bunk room. It was one of the things that we really liked about the layout because it is so versatile. As manufactured it can be two beds, one bed and a big shelf, two big shelves or a huge hanging closet.

We needed something slightly different, of course, so I set to modifying it. We generally have one child at a time with us, mostly our daughter. So, we wanted more “bedroom” comfort: a more upright entry and the ability to sit up in bed. We still wanted a shelf above, but it could be a little smaller. So, what I ended up doing was removing the forward part of the upper bed from it’s hinge. I built two wooden box spacers to bring it up, and back. They sit on the original rail. I left a few inches between it and the window so the curtain can still cover the whole thing, as part of it is now below the new upper shelf. The back 6″ fixed part of the upper bed remained, it is now a small shelf and I made a fiddle to be able to put things there without them falling off. Of course it also hid the now exposed part of the hinge. The upper curtain can still close to hide the stuff up there. There are 8 new screw holes, but I can bring it all back to original in minutes and you would never find them. In the last picture the lighting makes the color look more off than it really is, I was able to get pretty close using a bit of mahogany colored oil based stain mixed into boiled linseed oil. A quick and smooth finish.
_________________________________________________________________
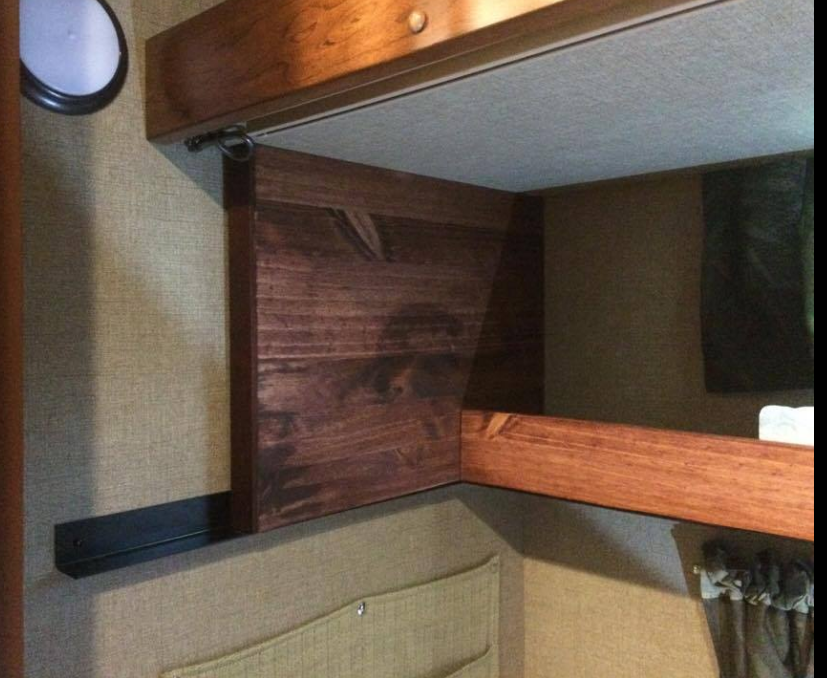
Hanging rod in bedroom.
The medieval hobby involves “garb”. Lots of it. When there’s three or four of us going for a week there’s lots of garments, especially for the girls. And if someone is living in the human closet there’s no hanging space there. Of course the cabinets with the rods in the bedroom are too short…. by a mile. So, just like the curtain rod in the front I put a rod across the bedroom, right by the mid bathroom wall. Turn the hooks on the hangers 90º and layer the garb sideways. You can get quite a few on there. There’s only one problem. The right wall is the big slide. So, before we retracted the slide we had to take all the garb and pile it on the bed, then remove the rod. If you don’t remove the rod and retract the big slide you get a REALLY bad noise. And cracks in the (thin) wall panels of the slide. Ask me how I know.
So, that got old. And then I had an idea. Just like the track of the bedroom door, I put a hole in the wall of the slide and stuck the rod in there. It rests on the bottom of the hole. It is also supported in the middle by a rubber coated hook. And I put a set screw in the left end cup on the wall so it can’t slide sideways. Now, even though the available hanging space decreases when the slides are retracted, there’s still about 7 feet left and the garb can stay up! I had to make the bezel rather large to cover up the “oops”……

____________________________________________________________________________________________
Under bed lighting. Self stick, 15 feet, dimmable plug and play. Simple, but very effective and it looks nice….


____________________________________________________________________________________________
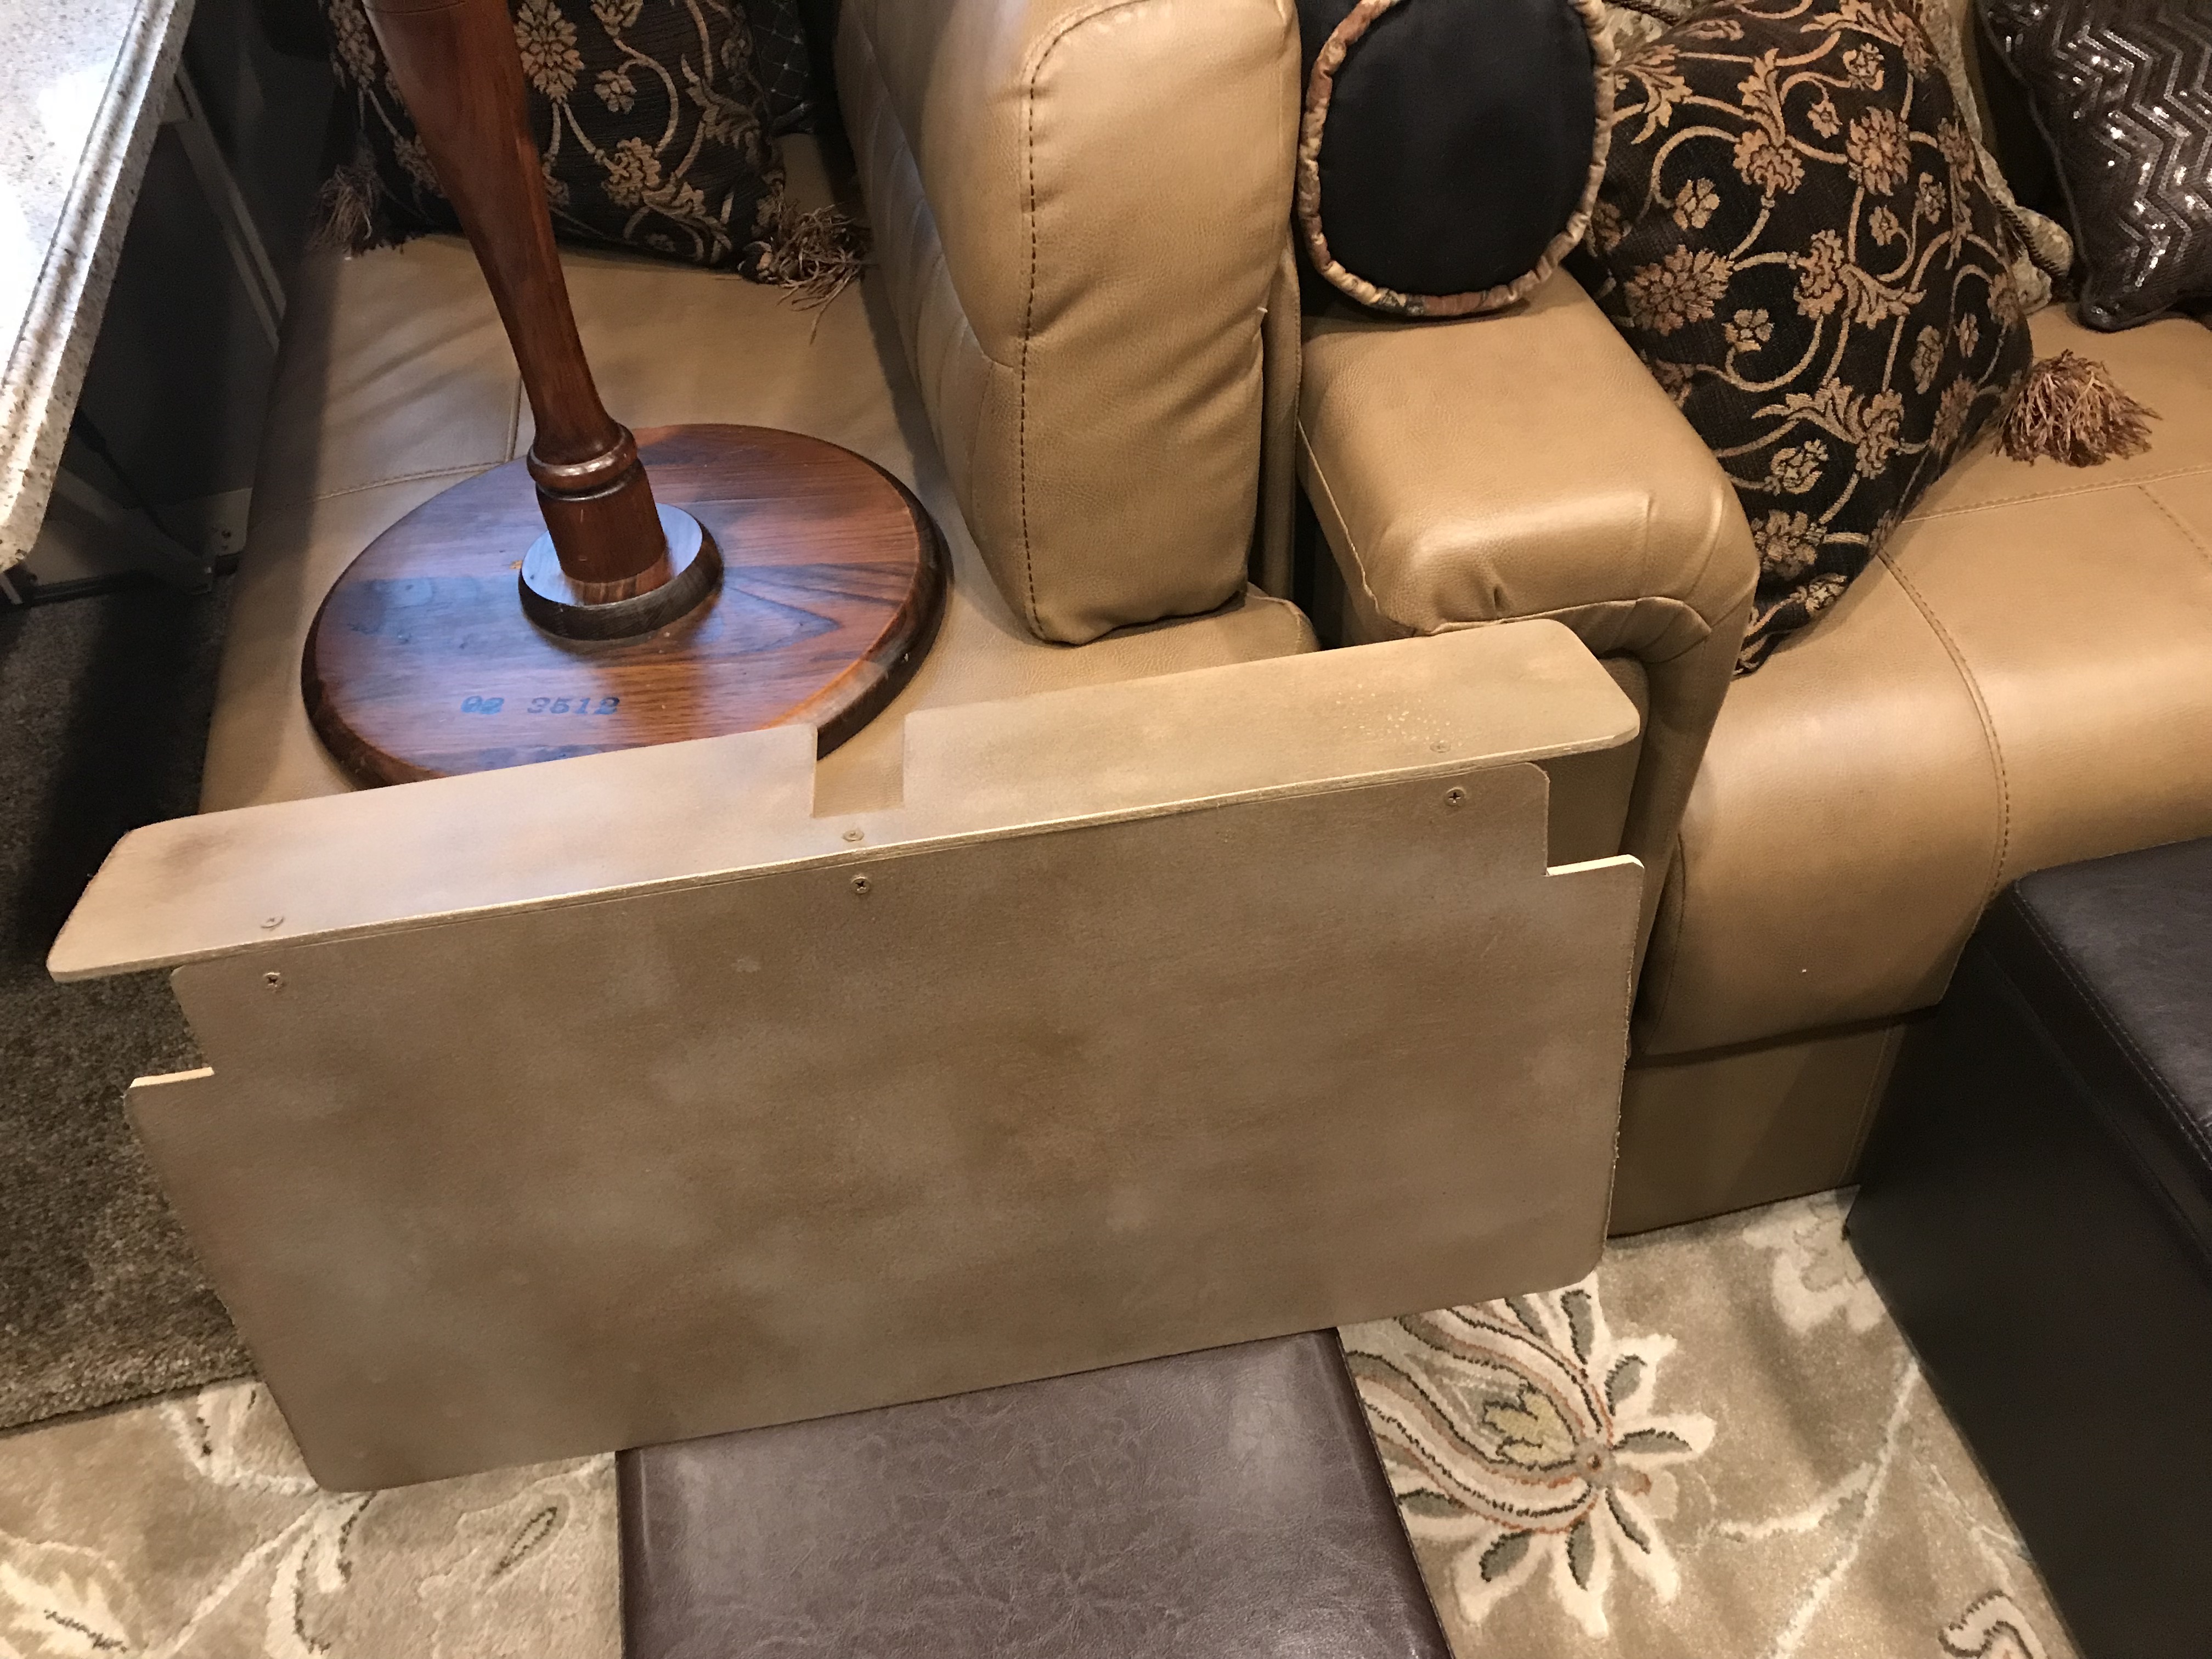
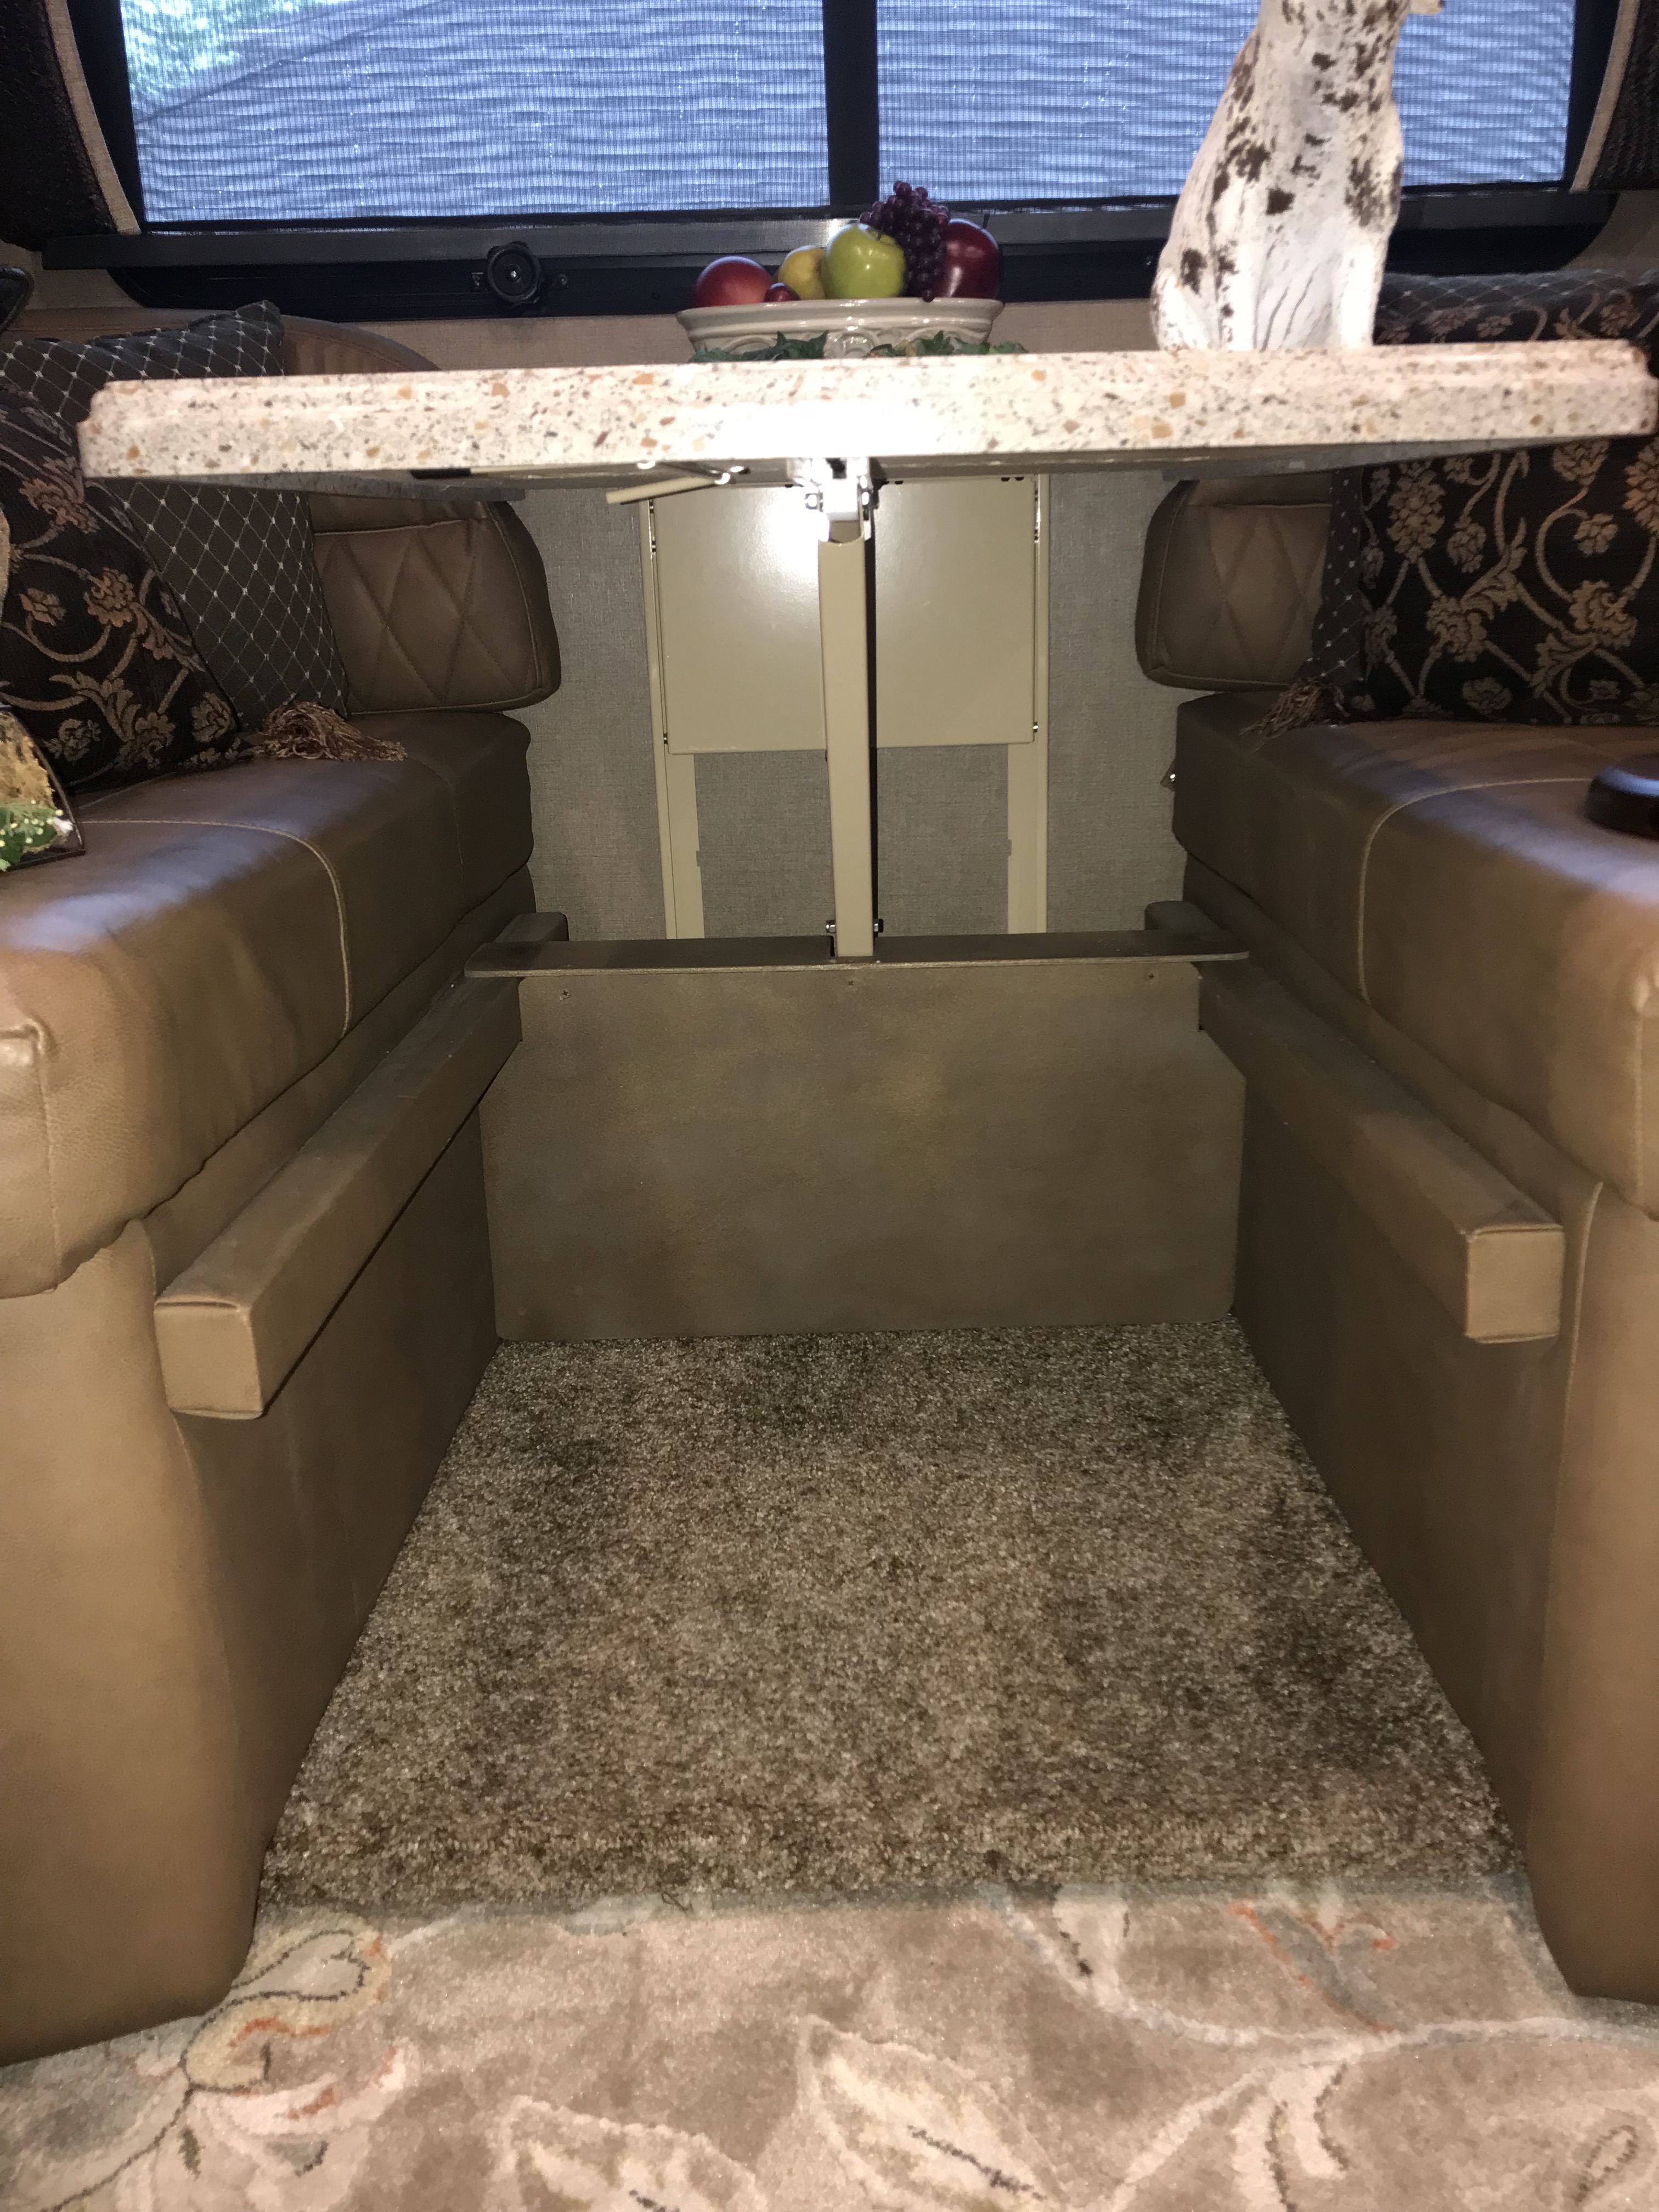
Hiding all the chargers and power supplies….
Under the table that is. We have a power strip there and the laptops mostly get used on the table. And the phones are there plugged in. And the batteries for my plethora of flash and headlights. It looked messy. So I made this… Slides right under the table. Some plywood, some rattle can paint. The outlet and ALL the power supplies, cords and chargers are behind it. When they are in use the end wires actually come up and onto the table. But that’s just a few thin ones.
____________________________________________________________________________________________
Floor Heat Registers
The factory ones are not the prettiest and they are not strong. After stepping on them a few times the vanes started bending. So I ordered these. Available everywhere, including Amazon. These are metal and pretty heavy, so we ordered them without screw holes. They just lay there and stay put. This allows me to quickly pick it up and stick the vacuum down there. MUCH better.

____________________________________________________________________________________________
Under dinette storage hatches.
I was having a conversation with a fellow Berker, and through his extensive contacts with FR in the FROG organization he knew that MOST of management doesn’t camp. Doesn’t own an RV…. has never owned an RV. So when you stand there and scratch your head going WHAT THE HELL? You know that the people that build these things don’t actually use them. (There are exceptions of course….)
Case in point. The hatches under the cushions in the dinette. How do you get those out? Break a nail? Spatula? I mean…..come on! Fortunately the solution was easy. Drill a hole. Not the prettiest and here’s special hardware to trim this out, but I’m on vacation and ACE didn’t have any….. This will do for now. A dab of contact cement around it under the fabric to keep it from fraying out.
__________________________________________________________________________________________________________________________
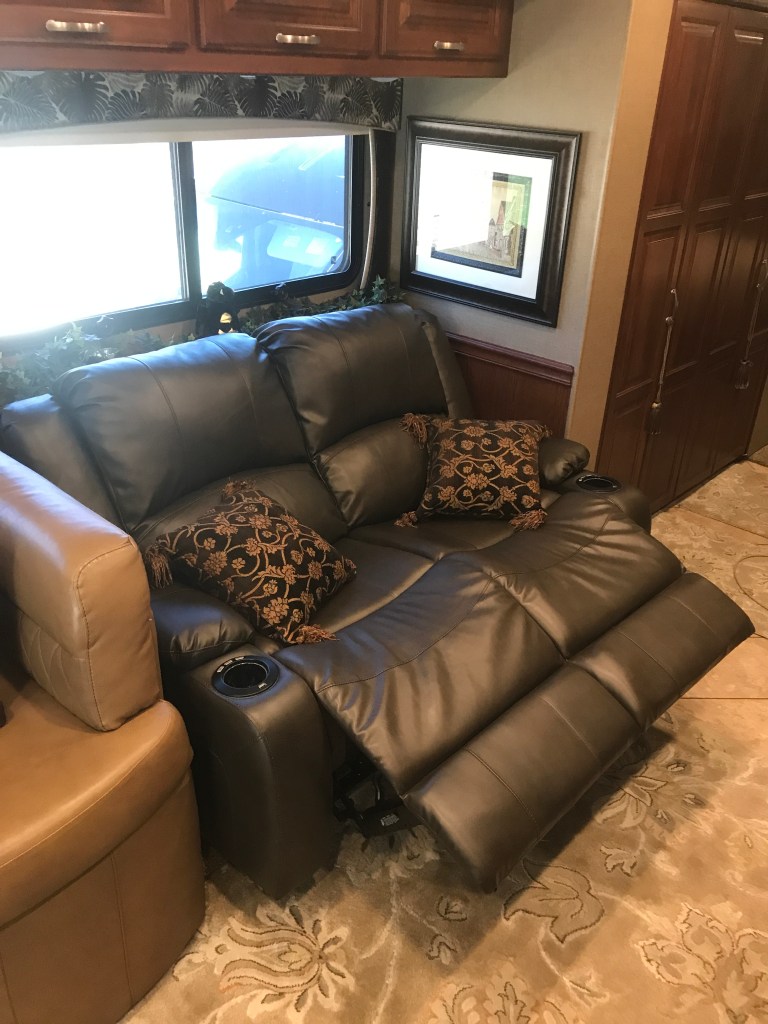
The Couch

Or settee, or loveseat. And of course the pull out double bed, if the guests are not too large and like each other. But we don’t really want couples sleeping over. Too old for that, I like my space. Get a room. 😉 We’ve had our adult son on there. But he doesn’t come with us much anymore and there is always the dinette, or an air mattress on the floor. No, the most time on there is spent by Kay, both enroute and when parked. And she can’t stretch out. Personally I find the thing horribly uncomfortable. The corners are angular and even with pillows it’s not happening for me. Then we have an ottoman as a footrest (there’s a picture further up this page showing it). This thing is seriously in the way when the slides are retracted as it blocks the path and you have to squeeze through the 8 inches left, or crawl over it. So we were never happy with it.
Many owners have replaced it with something. We went back and forth a hundred times ranging from a more comfortable love seat to removing one settee bench and putting in a three seater, to removing the entire dinette and putting in a full wall sofa. In the end we decided to go with the first option.
There’s a few brands out there, but in the end we went with Recpro, again. (We put a bunch of their stuff on our boat.) I’ve had nothing but pleasant experiences with them, they answer the phone, they ship promptly and the stuff is good value.
So what we ordered was the two seat electrical recliner. Push the button and aaaahhhh. Also a cup holder, and a USB port to charge the phones. Excellent. When we ordered for the boat we got the swatches and we knew the “Toffee” was close enough to match the rest of the coach. Alas, the 2021 supply chain crunch made the Toffee out of stock. Kay being the final vote in this decided that the darker color “Chestnut” would work too. Still matches the interior but sets the “living room” apart from the “dining room”. And, it alleviated the risk that the batch of “Toffee” we got would be almost like the sample but not quite. So click, click, click a FEDEX truck in the driveway and viola:

So first, out with the old. In will be mounted on a platform in the finished basement as an extra place for a house guest, and if we ever trade or sell the coach it can be there if the new owner wants it. Disassembly was pretty straight forward. 4 machine screws holding the seat in, a couple of small brackets with phillips head screws and a bunch of lag bolts holding the box to the slide floor, 6 machine screws holding the seat back hinges to the box, and finally four large machine screws with washers holding the sides to the box. The result small and light pieces easily carried out.


Then it came time to open the boxes. To our disappointment one of the bottom units was damaged. Several scratches in multiple locations…..

Called Recpro and sent them pictures per their request. They offered a 5% refund or to replace it. We chose the latter. Then the fun started.
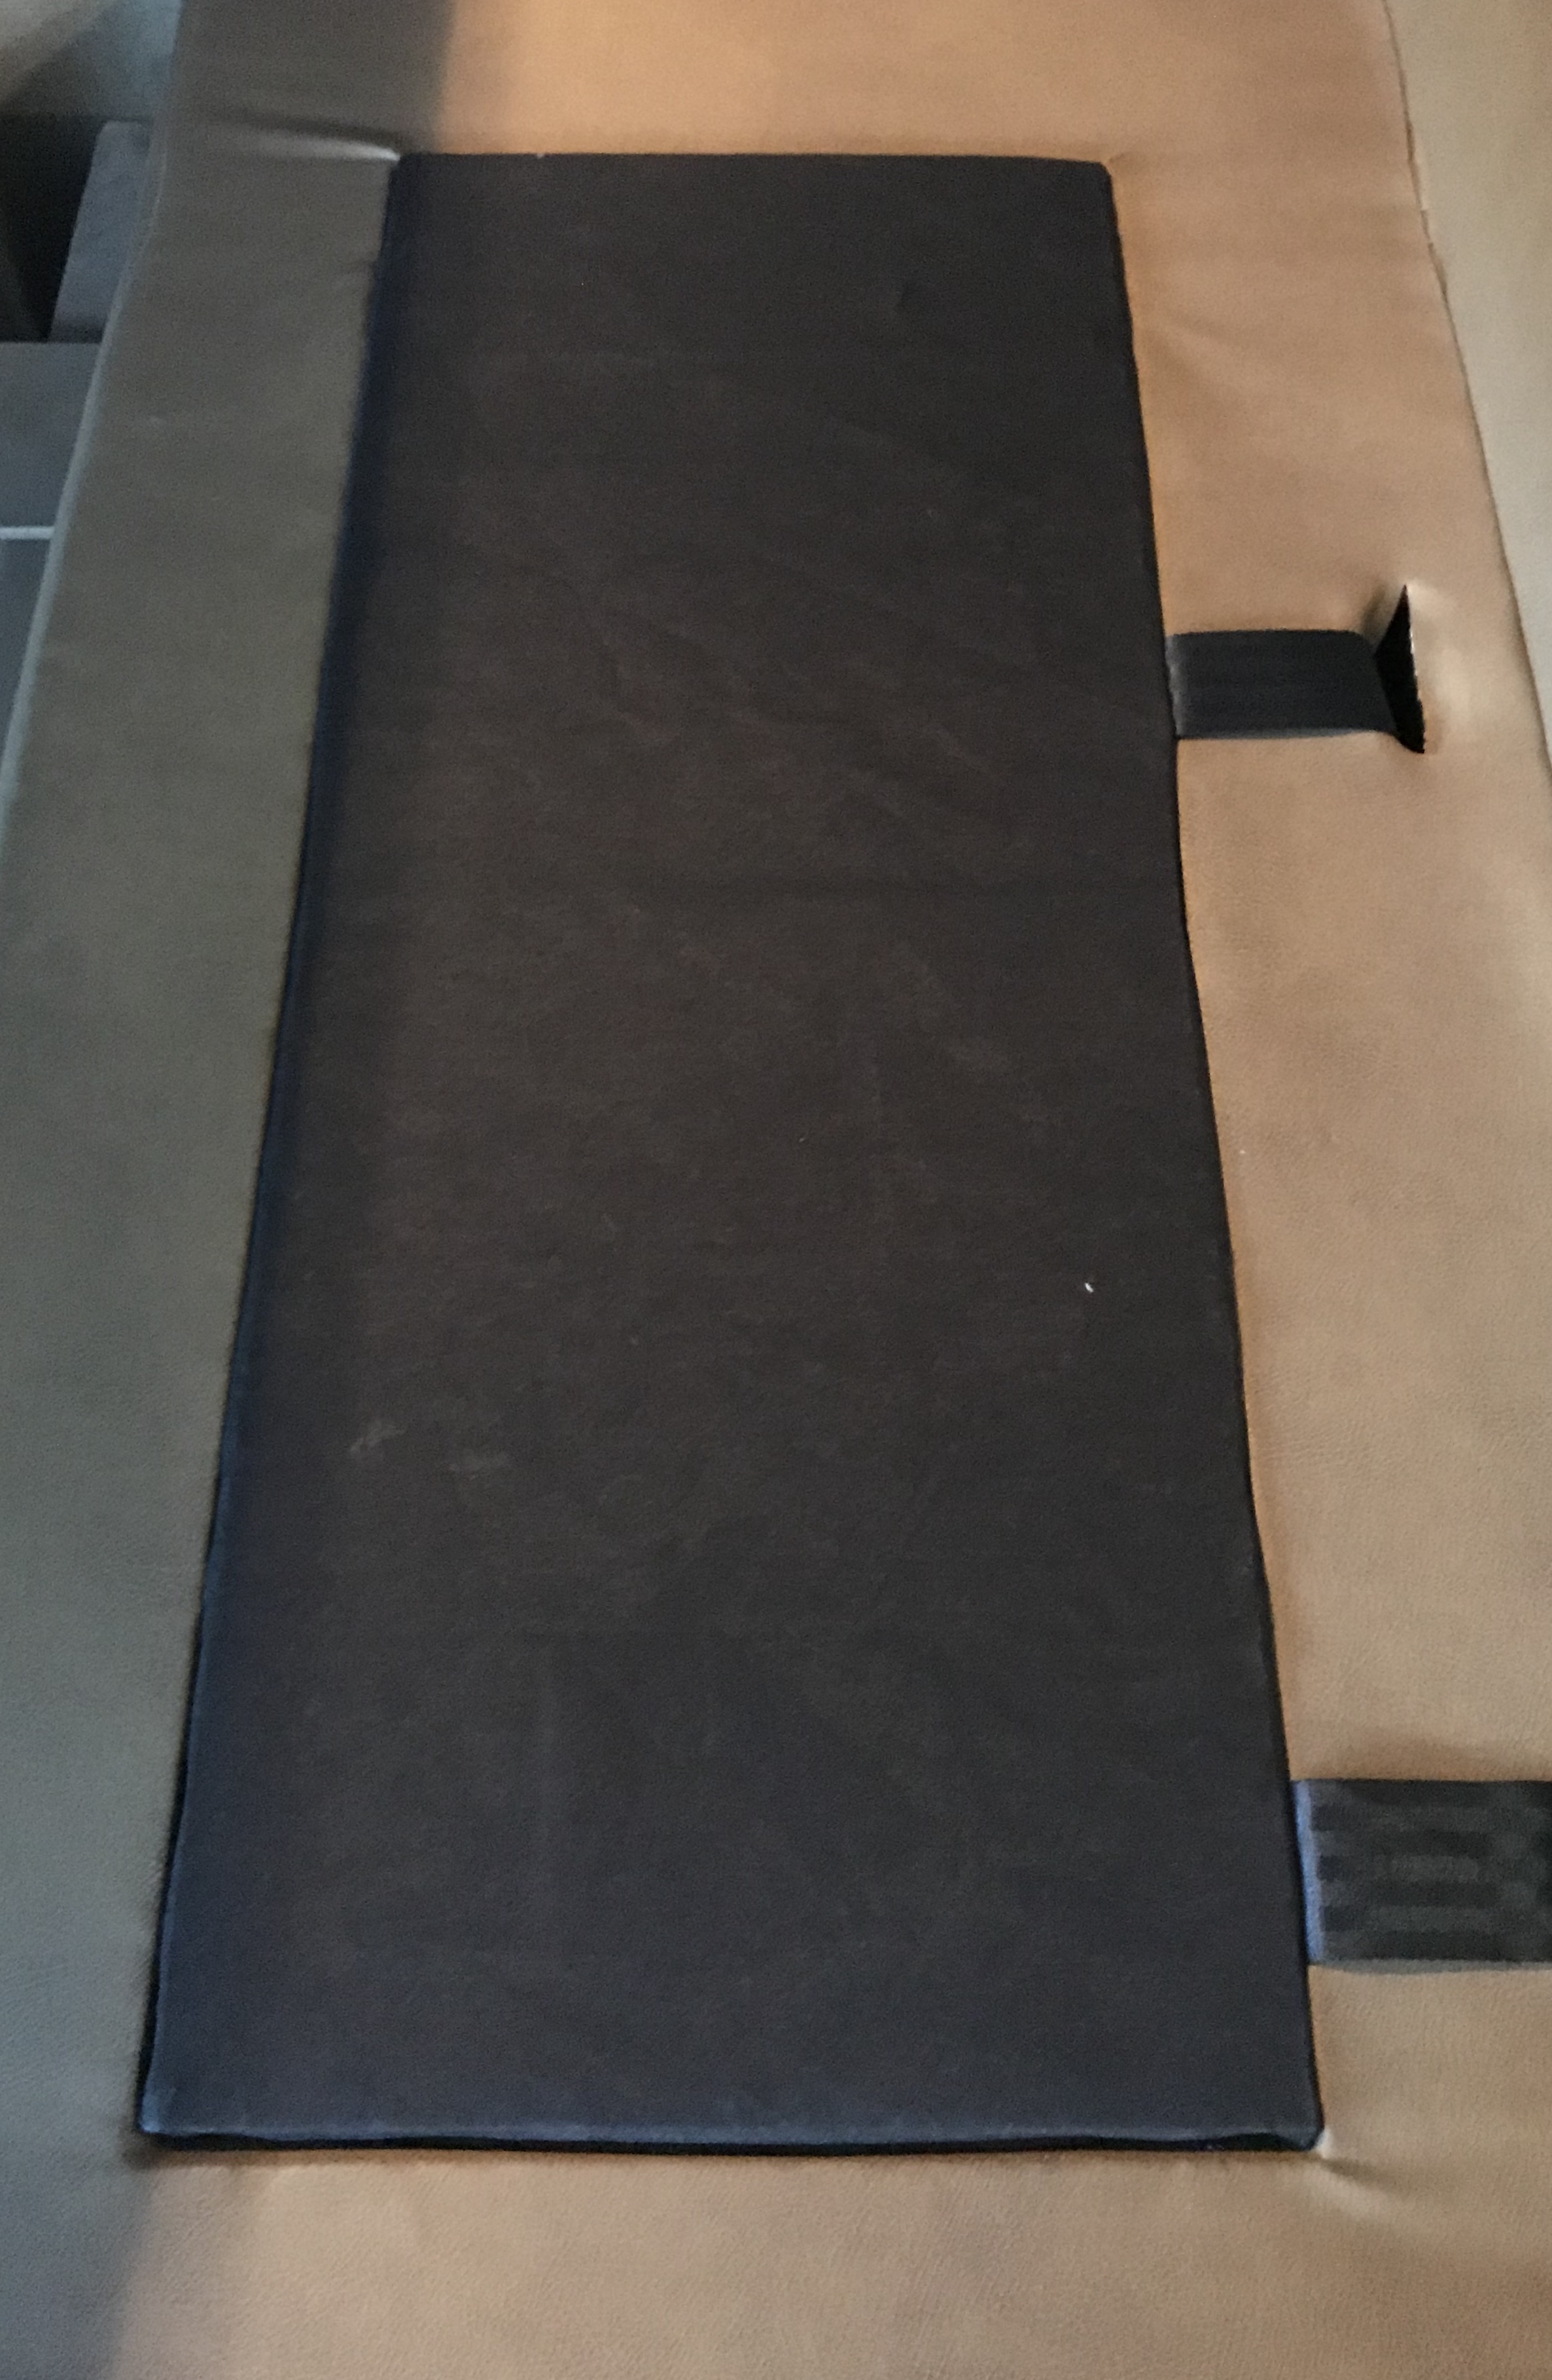
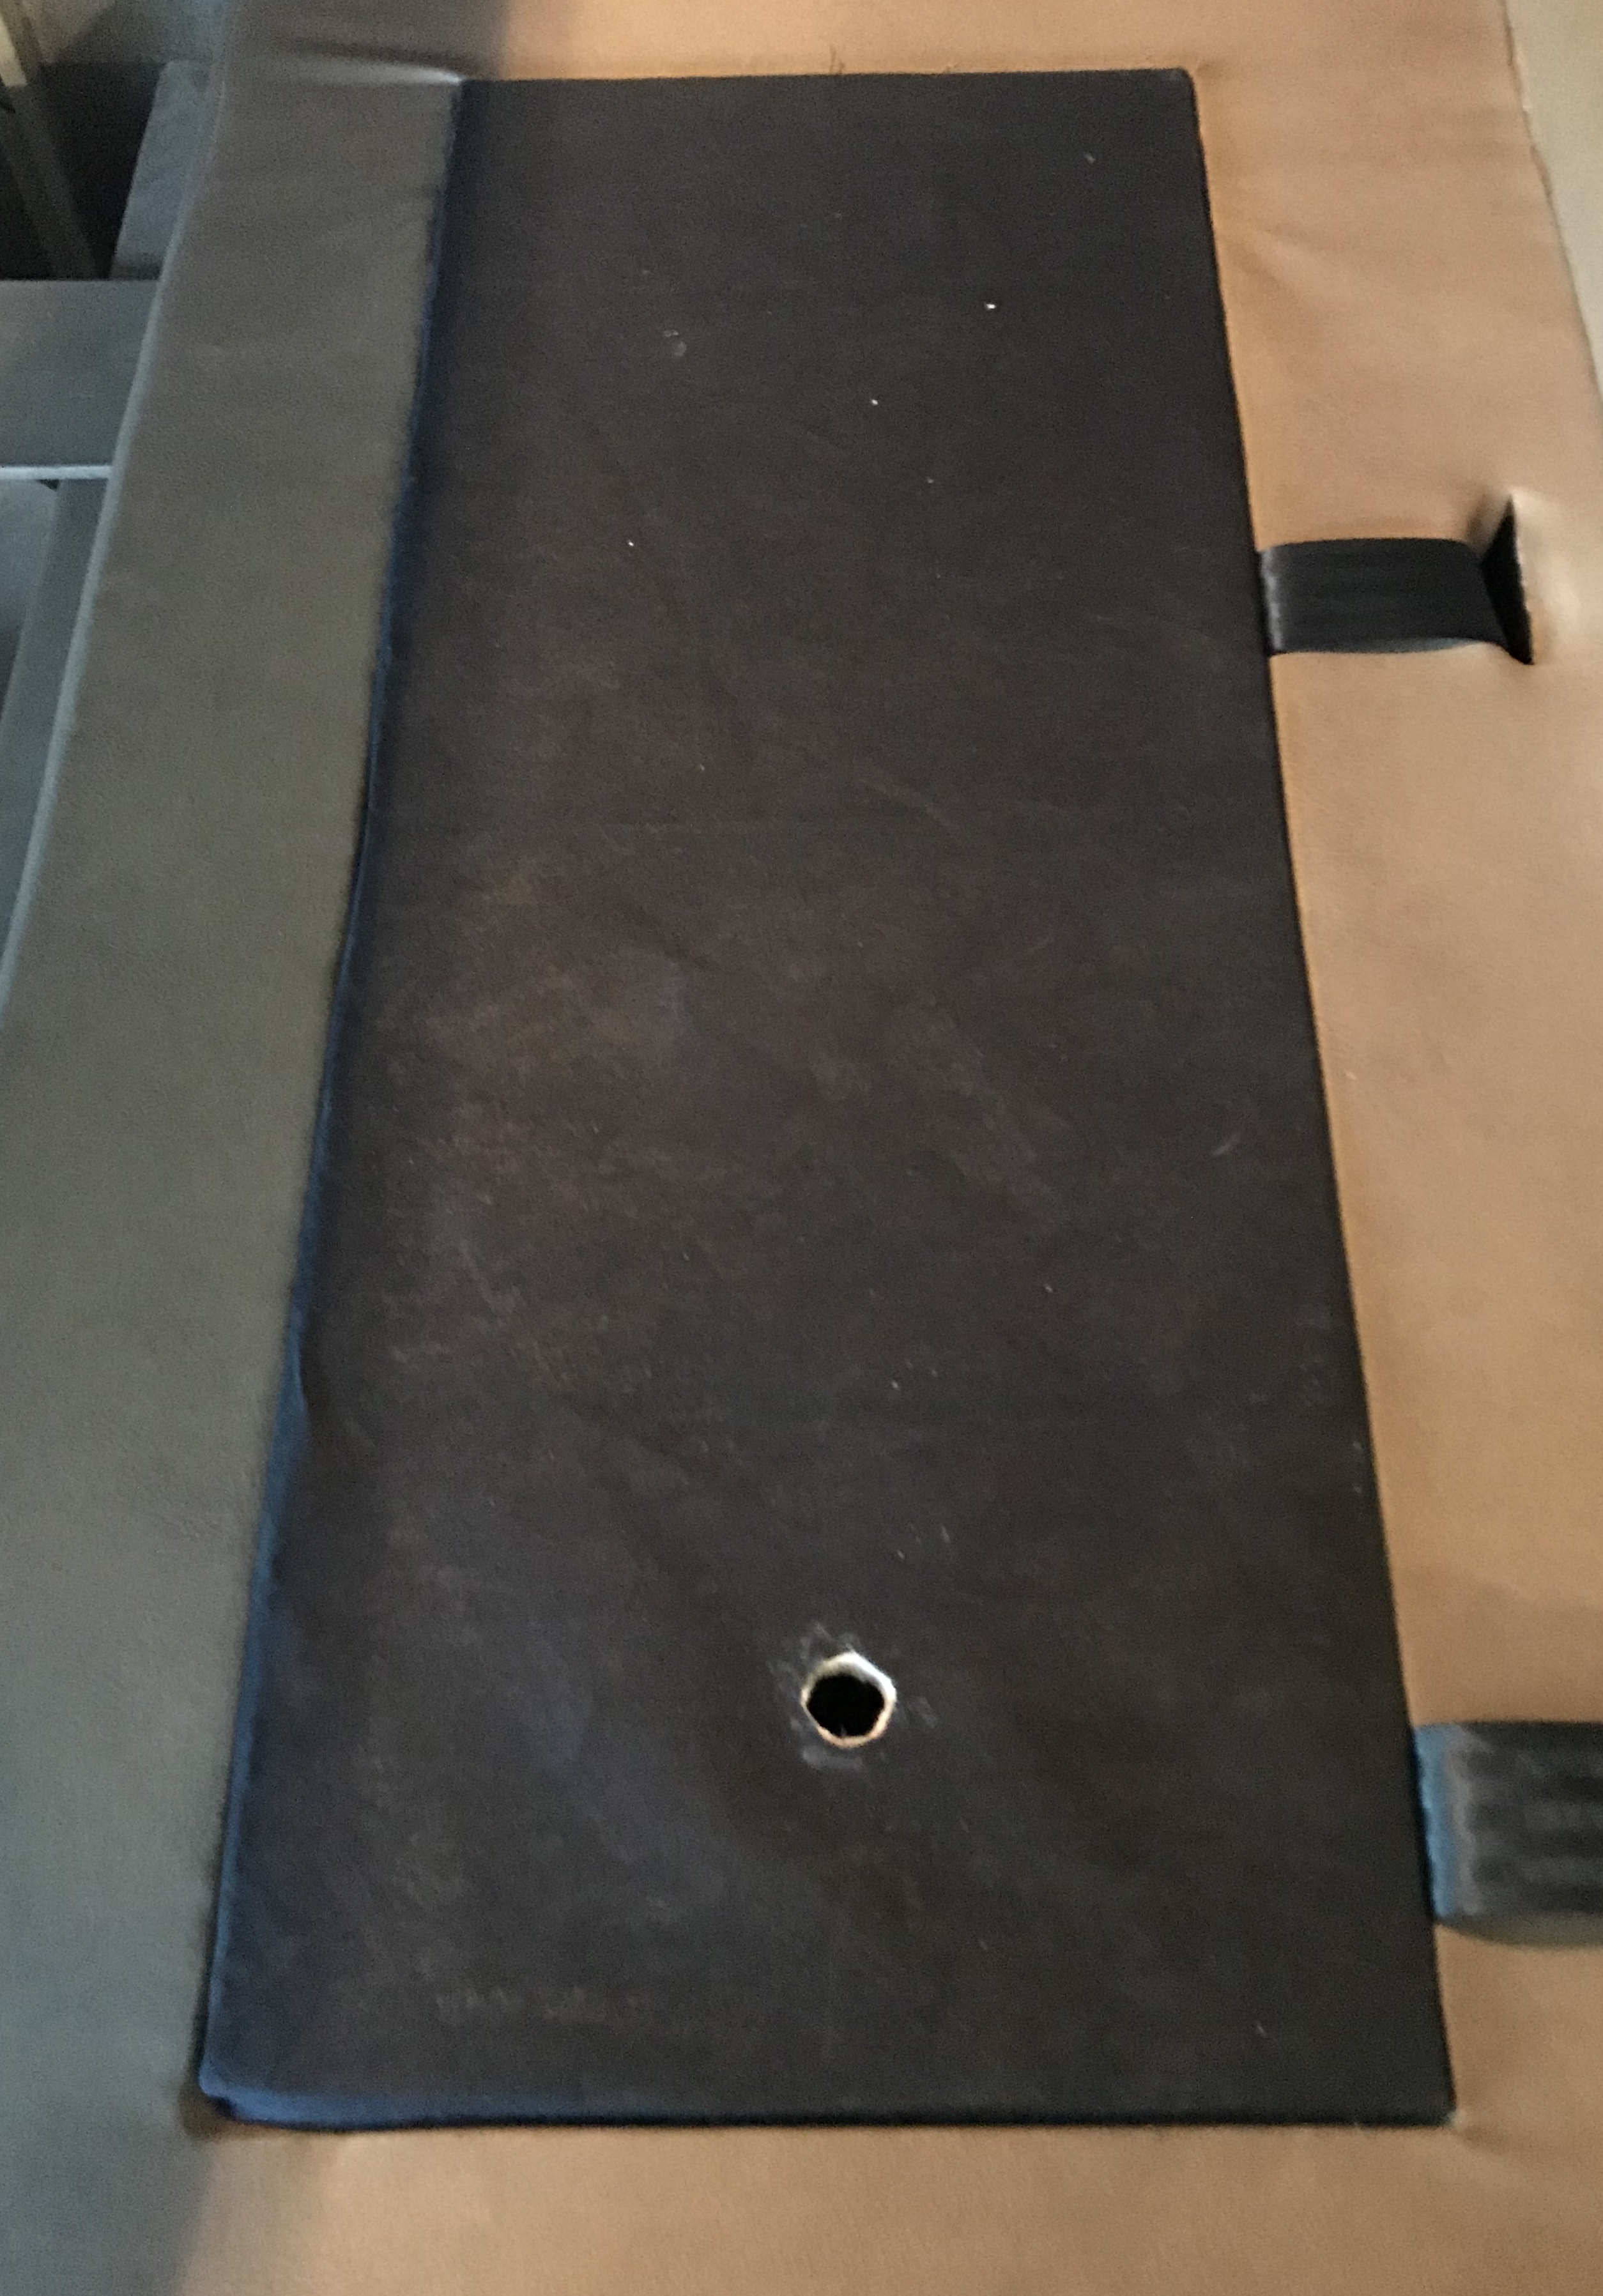
Sideways (facing the seat) it’s perfect. Fore and aft it’s a different story. In order to recline fully they have to be far enough off the wall. In our case we start inside the outside TV box. By the time you put the seats where they go they cantilever quite a bit. (4″ or so). My solution was to move the pad. There are a bunch of holes to work with and they are big enough to start a 7mmx1 threading tool to match the pad thread.


Like this the moved pad Just sits on the edge of the slide floor.

Then it was a matter of securing them to the floor. Much rug burn and blood. The wood floor is not thick, so it’s a matter of quantity not strength of the fasteners. In the end I went with 1/4 x 2″ lag bolts. My Milwaukee electric wrench was able to reach most spots and start the bolts. About 6 per seat. Do not over tighten as they will strip. No, in a serious crash the seats will not stay put. Nor will the dinette or the bed or a bunch of other stuff. I’ve seen the pictures. Good news is that the seatbelts (slightly more secured) easily fit in between the seat backs and the seats so there is some protection there. I do believe that the slide as a whole may well separate from the coach so you would go for a ride there. I have no illusion that crash safety of these units is abysmal. Again, I’ve seen the pictures. The two front seats are your best bet, no matter how you look at it. Of course the 40 square foot windshield in front of you gives pause too there……
That out of the way, we love them They are comfortable and we like the look. A win all around.