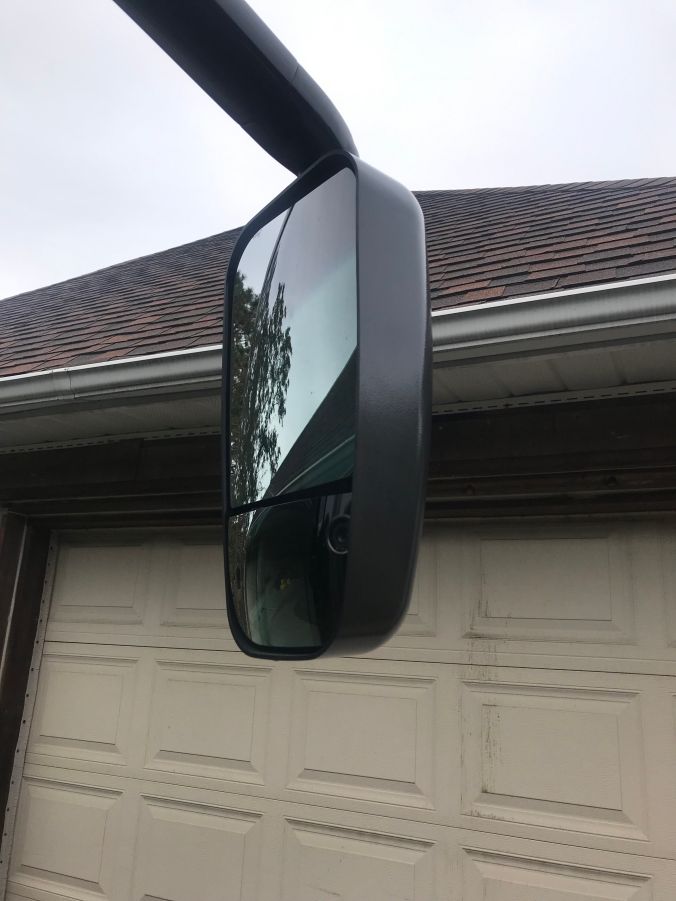
The mirrors. Handy things. Let you look behind you. There’s a few tricks to them. To adjust the WHOLE mirror versus the arm and or the arm itself loosen the bolt a little, then tap it with a nylon hammer. It’s a jam fit. Think bicycle handle bars if you ever messed with those. Also, the little red switch above you mirror controls on the side dash are the mirror heat. (Only the larger/flat section). The smaller parabolic sections are not remotely adjustable or heated.
The drawback? They stick out. A lot. Makes life interesting at the toll booths. (Did you know that at many toll booths there is one wider lane to accommodate wide loads? In my part of the world it’s usually the far right lane.) So here we were, late at night, motoring along fat dumb and happy, albeit tired after 300 miles, when we came upon a construction zone. Lots of signs… then BOOM! Sounded like someone fired a gun. And the right mirror was pivoted in, and the glass (both) was not looking very good. I was a bit taken aback (Quote:”What the $%^& was that?”) because I was in my lane and not drifting off the right side. Downloaded the dash cam video, and found the culprit. One of those BIG signs, with a lighted message on it “Lane Closed Ahead”. And it is hard to tell but it appears to be over the line and IN my lane. Not the first time I bent a mirror either although it was the first one on the coach. I used to drive a truck through the very narrow streets of Amsterdam, enough said.
So….. in case this ever happens to you, and odds are good, here’s how to fix it.
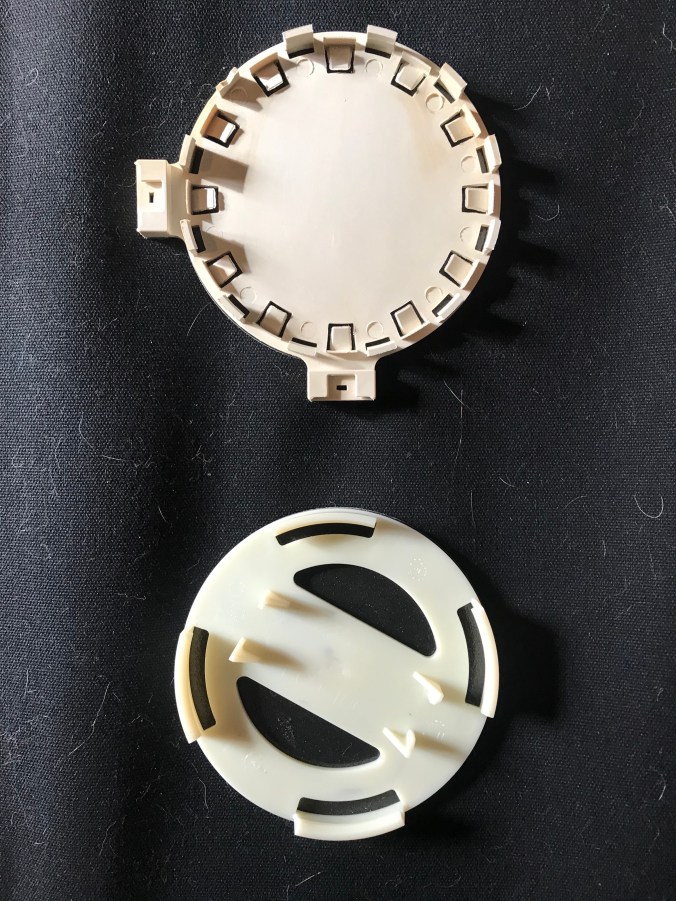
You can call Forest River and pay too much, or you can call their supplier who will happily sell you the parts: Ramco Engineering in Elkhart IN, 574-266-1455 NOTE: These mirrors are sometimes mounted “hanging” like ours but also “standing” in which case the flat part is the lower part and the convex part the upper part. The person I dealt with at Ramco had the standing mirror in his head, so his “upper” was my “lower”. Easiest way to deal with them is to get the part number. Mine was eh, slightly illegible in the broken glass but our left and right side are the same so you can get the part number off the other side, etched right on the front of the glass. The ONLY difference is that the hole in the convex part is opposite on the two sides. Flat part: GLS173H (H is for heat) Convex part GLS 172CDCC-LH. Yes, mine was the passenger side but it’s HANGING which makes the convex part a driver side part of a STANDING mirror. Confusing? You bet. In fact they sent me the wrong side…. After I called they sent me the correct side, no charge. There is a ring “kit” for the flat glass. Buy it, it’s $12 Otherwise you have to remove the old one with heat, and then glue it on to the new one. The kit has an adhesive backing pre-installed. WELL worth $12. There’s two styles an old and a new… Mine’s a new. (Top one).
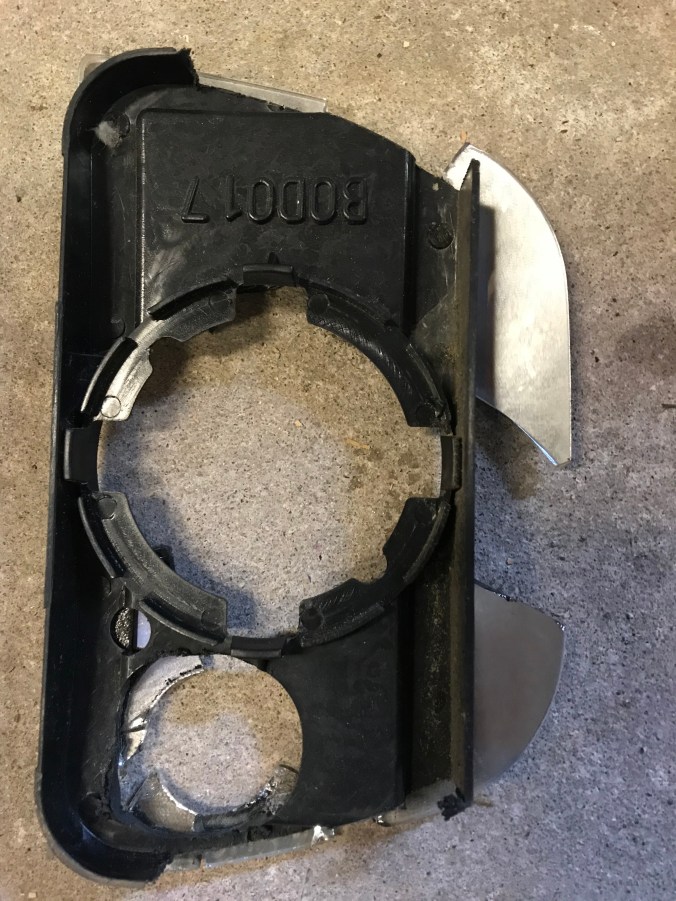
Removal: Both glass pieces snap onto their mechanisms with plastic rings that are glued to the back. So, to remove grab an edge, pull to unsnap and work your way around. Gently. Yes, with a ton of broken glass it gets interesting. I was able to remove shards and get to the actual ring. Here’s what the back of the dead flat part looked like:

I had to cut the wires for the heat.
Here’s what the dead convex looked like: (Note hole for camera.)
Interestingly the first (wrong) one they sent me was just glass, the second one had the bracket on there. Saves work.
And here’s what the housing looks like after removal of both mirrors. Note connection for camera (my camera survived) and heat. Also note the two mounting rings, the upper on the motor, the lower with a friction setup. This appears adjustable, good to know for the future if it ever works its way loose.
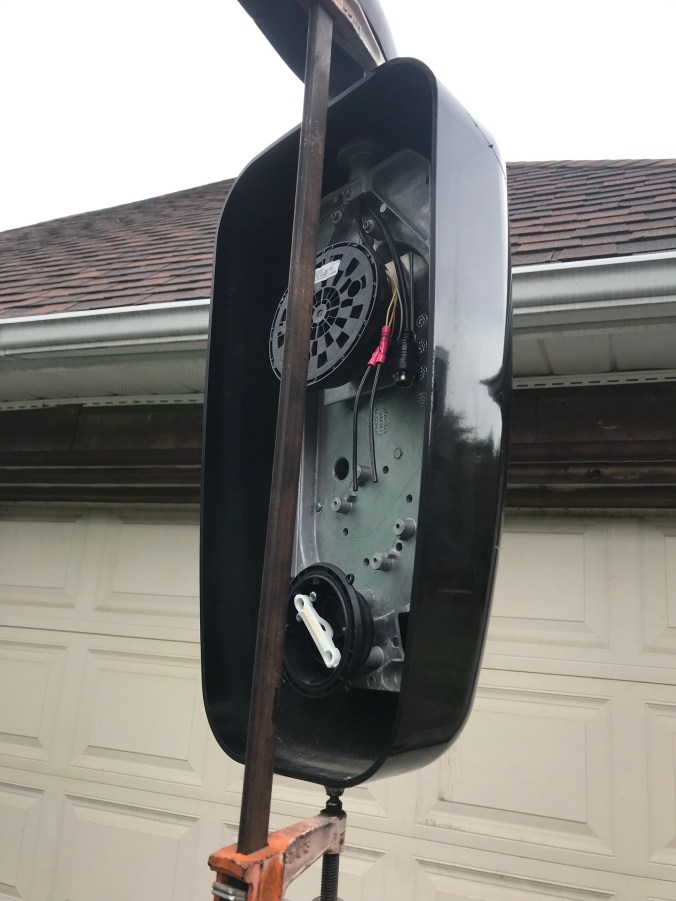
So what’s with the clamp? Notice the crack on the top right, just visible, but it runs all the way to the edge. I asked Ramco about a new housing… and they do NOT sell just the plastic. You will be buying everything IN the housing. (Including glass) so basically a whole mirror… You ready? Just this side of $700.00 So I am lucky that the housing is repairable. Superglue to the rescue, hence the clamp. I’ll sand and fill and give it a coat of paint as there were some serious scuff marks on there too. Hitting things at 50MPH tends to leave a mark…..

Some filler in the repaired crack and some sanding…. Ready for paint.

Oh honey….. I need to borrow the bed sheets for a minute…..

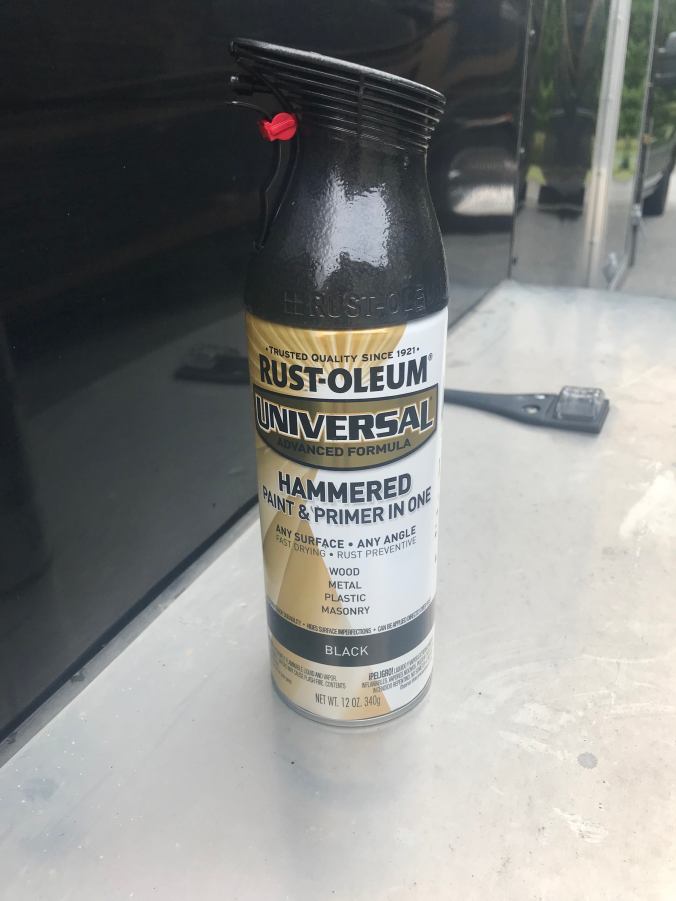
And of course…. which paint? I went with this. It’s a primer and topcoat in one, and it’s a hammered look. Getting a smooth glossy spray job on a ladder in the wind is very difficult. The hammered paint is a lot more forgiving and I think it looks just fine up there. Sort of black, sort of silver which is in my paint scheme and no visible sags…. pulls it all together. Right? To keep things even I did the other side too. OK, there may have been a few scuffs on there too…… 😉
Now for assembly. First I had to install the camera on the parabolic. (It luckily survived). The nut ring on there is installed with some form of locking goop… it is TIGHT. Took two channel locks to get it off. I taped up the threads and put one on there, the other on the ring. Three or so turns and it came off… phew. Look on the other side to see orientation (don’t want an upside down picture now do we?) There’s a little light sensor to use for reference. Now, you must install the parabolic FIRST or you won’t be able to connect the cable behind the flat mirror.
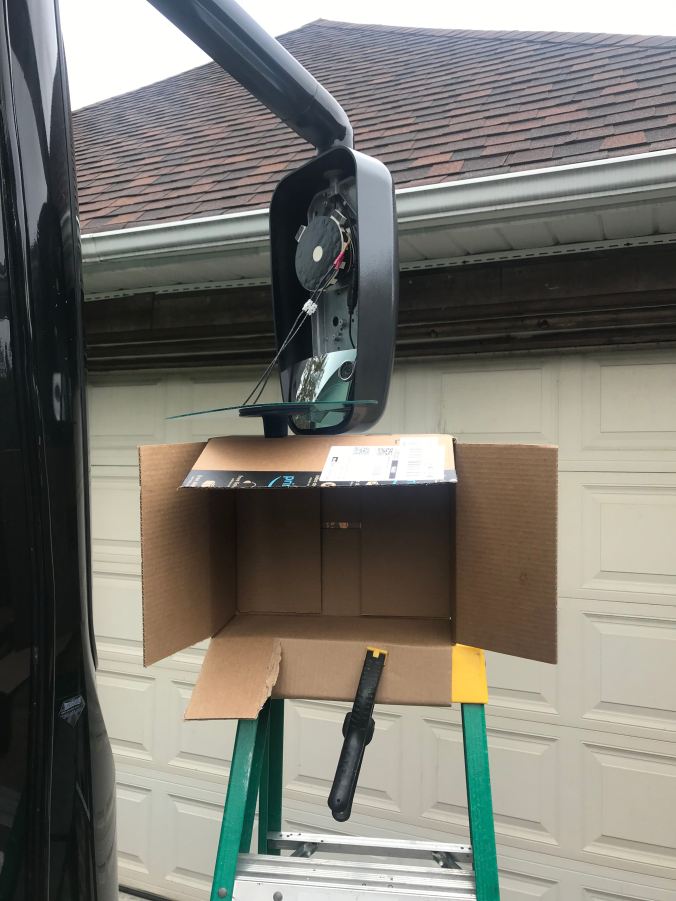
Then I installed the snap ring for the flat mirror. Used the old one for orientation of the two tabs. Remove the backing on the self stick. I built a stack with a ladder and a box clamped to it to support the mirror while I connected the wires for the heat. A dab of the silicone in the center of the snap ring per the instructions. I have one of those suction cup handle bars and removed one suction cup to put on the mirror as a hand hold…. worked like a charm! (Remember, you get ONE shot at this.) Everything ready to go:
And on it goes:
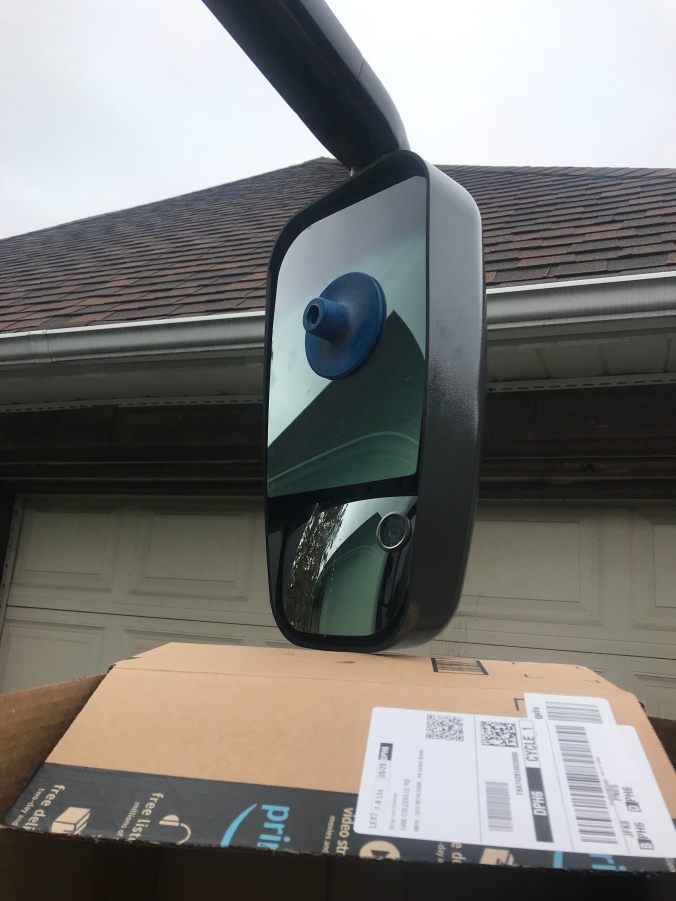
There…. it never happened! Total cost with consumables and paint, well this side of $100.00 Don’t even want to think about what an “Authorized Repair Shop” would have charged for this…..